How to Build a Mini War Drone with 3D Printer – Engineering Guide
The landscape of modern defense and tactical operations is changing with the rise of compact, agile, and cost-effective solutions. Mini war drone systems, built with 3D printing technology, offer unparalleled advantages for reconnaissance and rapid deployment. In this guide, we will explore how to design and manufacture your own high-performance tactical UAV from scratch.
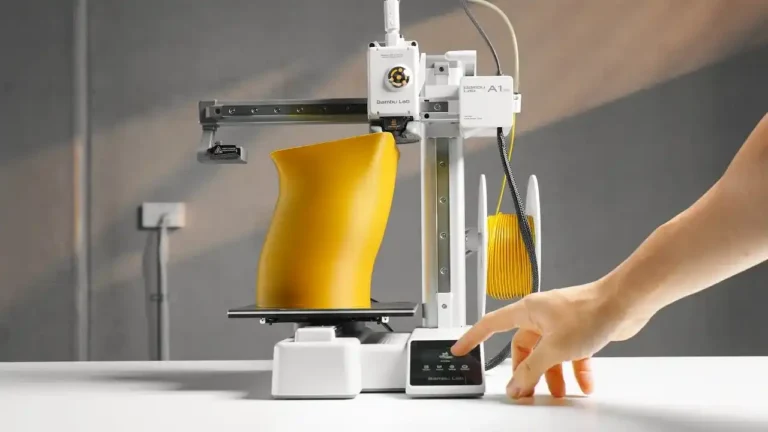
1. The Power of 3D Printed Tactical Units
Standard carbon fiber frames are rigid but lack customization. Using a 3D printer for a mini war drone project allows you to:
- Rapid Field Repairs: Print and replace broken arms or camera mounts in hours, not weeks.
- Integrated Stealth Design: Create complex, organic shapes that house electronics internally for better protection and aerodynamics.
- Disposable Efficiency: Low production costs make these units ideal for high-risk missions where equipment recovery is not guaranteed.
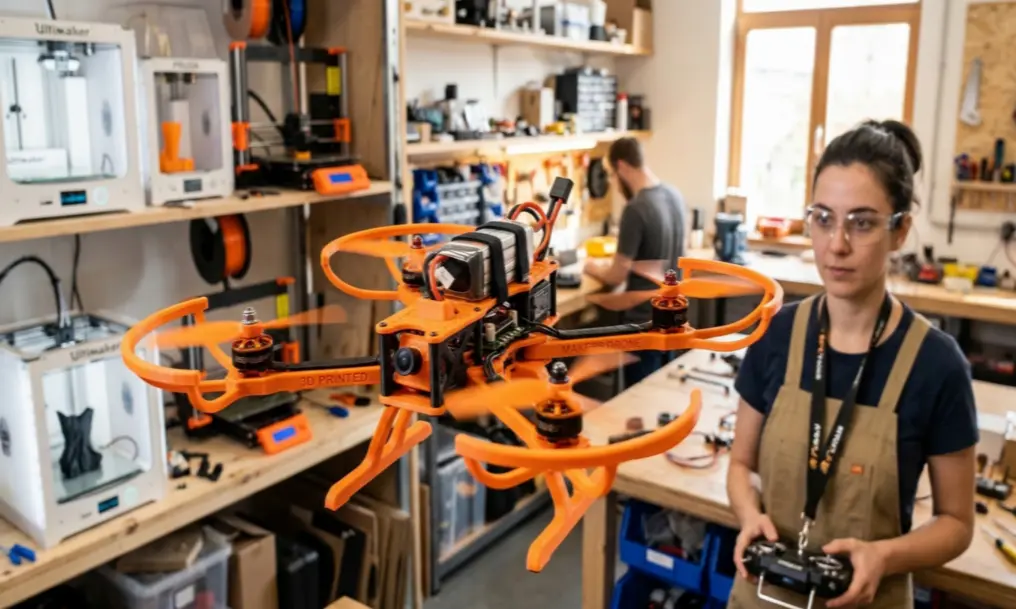
2. Sourcing Professional 3D Designs (STL Files)
If you are not an expert in CAD software like Fusion 360, you can find high-quality engineering files on these platforms:
- GrabCAD: The go-to source for mechanical engineers. Search for “Tactical Quadcopter” or “Sub-250g Frame”.
- Printables: Look for designs with high download counts and verified flight footage.
- GrabCAD / GitHub: Many open-source defense tech projects host their frame designs here for community development.
3. Material Science: Choosing the Right Filament
For a mini war drone, your material must withstand high-speed impacts and motor heat.
- PA-CF (Carbon Fiber Nylon): This is the gold standard. It provides the stiffness of carbon fiber with the impact resistance of nylon.
- ASA: Better than ABS for outdoor use. It is UV resistant and holds up well under direct sunlight during long missions.
- TPU (95A): Essential for vibration dampening. Use it for motor mounts and antenna holders to protect sensitive electronics.
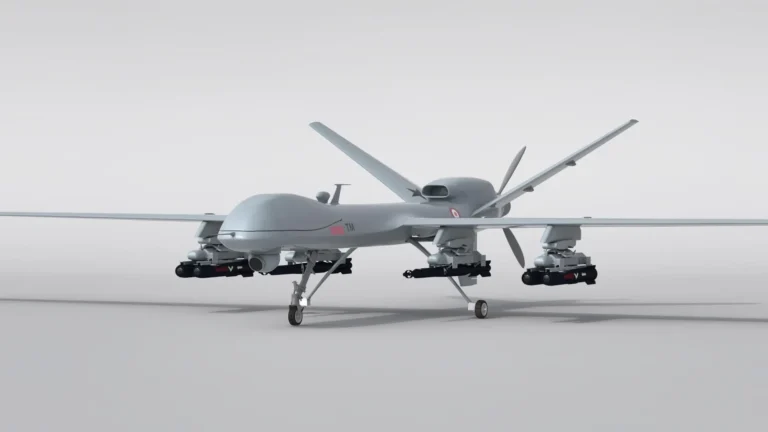
4. Defining the Mission Profile: Sub-250g Category
Most tactical mini drones are designed to stay under 250 grams. This “Mini” category allows for:
- Increased Agility: Smaller drones can navigate through tight spaces (windows, forests).
- Lower Acoustic Signature: Smaller propellers generate less noise, making the drone harder to detect.
- Legal Accessibility: In many regions, drones under 250g have fewer flight restrictions.
Part 2: Long-Range Propulsion and Tactical Electronics for Mini War Drone
To make a mini war drone truly effective, it must possess two critical capabilities: extended operational range and a reliable tactical data link. In this part, we focus on the “nervous system” and the “muscles” of your 3D printed unit.
1. High-Efficiency Propulsion Systems
Efficiency is more important than raw speed for tactical missions.
- Brushless Motors: For a sub-250g mini drone, motors like 1404 or 1206 with 3000-4500 KV are ideal. They provide the necessary lift for carrying small sensors without draining the battery instantly.
- Propeller Choice: 3-inch or 3.5-inch propellers offer the best balance between thrust and noise reduction.
2. Tactical Communication: ELRS and Digital VTX
Maintaining a link in contested environments is vital.
- ExpressLRS (ELRS) 900MHz: This link provides kilometers of range and superior penetration through obstacles like buildings or trees, which is essential for a mini war drone.
- High-Definition Video: Using a system like DJI O3 Air Unit or Walksnail Avatar allows for 1080p real-time reconnaissance, enabling the operator to identify targets with precision.
3. Flight Controller: The Tactical Brain
- AIO (All-In-One) Boards: Since space is limited in a mini frame, using an AIO board that combines the Flight Controller and ESC (Electronic Speed Controller) saves weight and simplifies the 3D printed interior design.
- GPS & Magnetometer: Even for a small drone, a GPS module is mandatory for “Return to Home” safety and autonomous waypoint missions.
4. Power Management: Li-Po vs. Li-ion
While Li-Po batteries offer high discharge rates for bursts of speed, Li-ion (18650 cells) packages are becoming popular for mini tactical drones because they can double the flight time, allowing for 20+ minute reconnaissance missions.

Part 3: Slicer Settings and Structural Integrity for Stealth Missions
When manufacturing a mini war drone, your slicer settings determine whether the frame will survive a high-speed maneuver or shatter upon impact. For tactical operations, we need to balance weight, rigidity, and the acoustic signature of the drone.
1. Wall Count: The Secret to Impact Resistance
In a mini war drone, strength comes from the perimeter, not the infill.
- Setting: Use at least 4 to 6 wall lines.
- Reasoning: High wall counts prevent the arms from twisting under the high torque of brushless motors and ensure the frame can withstand “kinetic” encounters without snapping.
2. Infill Optimization for Tactical Frames
- Pattern: Use Gyroid infill. It provides isotropic strength (equal strength in all directions) and acts as a natural dampener for high-frequency motor vibrations.
- Density: 30% to 50% is the sweet spot for sub-250g tactical units. This keeps the drone light enough to be agile but solid enough to protect the internal electronics.
3. Layer Adhesion and Thermal Bonding
A drone falling apart in mid-air due to poor layer adhesion is a mission failure.
- Temperature: Print at the higher end of your filament’s range (e.g., 270°C+ for Carbon Fiber Nylon). This ensures the layers fuse into a near-monolithic structure.
- Cooling: Keep the part cooling fan at 0% or very low (max 10%). Slower cooling leads to much stronger molecular bonds between layers.
4. Precision for Modular Components
Since a mini war drone often carries modular sensors or cameras:
- Horizontal Expansion: Calibrate your printer to ensure that M2 and M3 screw holes are perfect.
- Heat-Set Inserts: Instead of screwing directly into plastic, use a soldering iron to press brass inserts into the frame. This allows for repeated field repairs without stripping the threads.
- Part 4: Aerodynamics and Stealth Signatures for Mini War Drone
In tactical operations, the success of a mini war drone depends on its ability to remain undetected while maintaining high-speed stability. 3D printing allows us to move beyond flat carbon fiber plates and create complex, organic geometries that optimize both airflow and stealth.
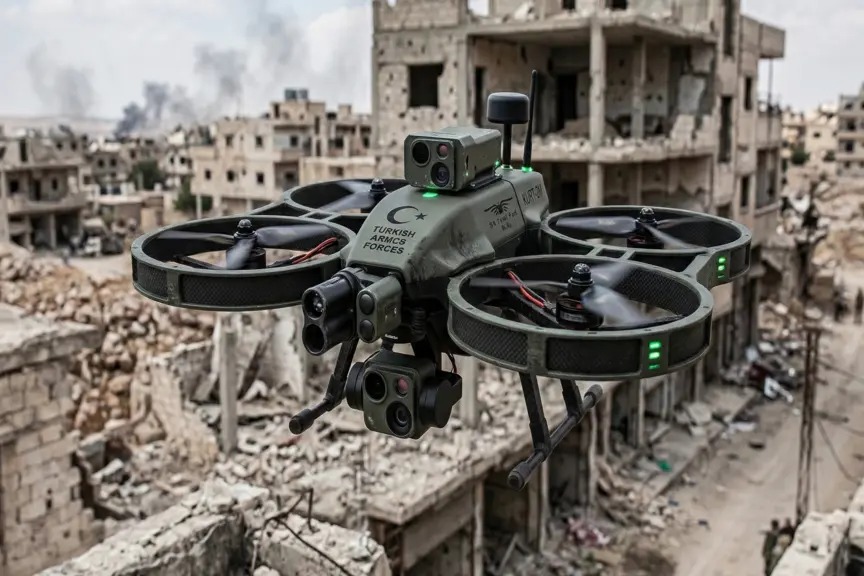
1. Reducing the Acoustic Signature
Sound is the primary giveaway of a low-altitude drone. To make your mini war drone quieter:
- TPU Motor Mounts: Use 95A TPU spacers between the motors and the frame. This prevents the frame from acting like a soundboard, significantly reducing the “buzz” heard from a distance.
- Shrouded Propellers (Ducts): For indoor or close-quarters reconnaissance, 3D printed ducts can redirect airflow and dampen the high-pitched noise of the blades.
2. Aerodynamic Enclosures (Canopies)
A “naked” drone creates massive drag. A 3D printed canopy is essential for:
- Streamlined Flight: Covering the stack (FC/ESC) and wires reduces air resistance, increasing top speed and battery efficiency by up to 15%.
- Internal Cooling: Design “NACA ducts” into the canopy. These intake vents pull cool air over the VTX (Video Transmitter) without increasing drag, preventing thermal shutdown during long missions.
3. Visual and Thermal Stealth
How your mini war drone looks to the naked eye or thermal sensors matters:
- Matte Filaments: Avoid “Shiny” or “Silk” filaments. They reflect sunlight and are easily spotted. Use Matte Nylon or ASA in tactical colors like Olive Drab, Flat Grey, or Desert Tan.
- Component Masking: 3D print internal shields to mask the heat generated by the ESC. This helps break up the thermal silhouette of the drone against colder backgrounds.
4. RF Transparency vs. Signal Shadowing
Carbon fiber blocks radio signals, but most 3D printing filaments are RF-transparent.
- Integrated Antennas: You can design the frame of your mini war drone to house antennas internally. This protects them from damage during crashes and ensures 360-degree signal coverage without the “shadowing” effect caused by conductive materials.
Software Configuration, Field Testing, and Mission Readiness
The final phase of building a mini war drone is breathing life into the hardware. A tactical unit is only as good as its flight controller’s tuning and its ability to handle autonomous tasks under pressure. In this concluding part, we finalize the software and prepare for the maiden flight.
1. Flight Software: Betaflight vs. ArduPilot
For a mini war drone, your software choice depends on the mission profile:
- Betaflight: Best for high-speed, agile reconnaissance where the pilot needs maximum “locked-in” feel.
- ArduPilot / PX4: The industry standard for autonomous mission planning, waypoint navigation, and sophisticated “Return to Home” (RTH) protocols.
2. Tuning for 3D Printed Frames (PID & Filters)
3D printed materials have different resonance frequencies than carbon fiber.
- Filtering: You may need to apply more aggressive “Gyro Lowpass” filters to account for the slight flexibility of a 3D printed mini war drone frame. This prevents motor overheating and “mid-throttle oscillations.”
- Dynamic Idle: Ensure this is enabled to keep the propellers spinning at a minimum RPM during sharp maneuvers, maintaining control even at zero throttle.
3. Tactical Field Testing (Maiden Flight)
Before deploying your mini war drone, follow these three steps:
- The Hover Test: Take off to 1 meter and hover for 30 seconds. Check for vibrations and motor temperature.
- Range & Link Test: Gradually fly to the edge of your operational area while monitoring the Link Quality (LQ) and RSSI in your goggles.
- Fail-Safe Verification: Manually trigger the “Land” or “RTH” switch to ensure the drone knows what to do if it loses connection with the operator.
4. Maintenance: The 3D Printing Advantage
In a real-world scenario, parts will break. The beauty of a mini war drone built on pea3d.com principles is that you own the factory.
- On-Demand Repairs: If a motor arm snaps, you don’t wait for shipping; you simply print a new one.
- Iterative Design: Based on flight data, you can thicken a weak point or add a new sensor mount and have the updated version ready for the next mission in a few hours.
- Can a 3D printed mini war drone survive a crash?
- Answer: Yes, if printed with PA-CF or ASA and high wall counts. The main advantage is that you can reprint any broken part in hours for a few dollars.
- What is the best material for a tactical mini drone?
- Answer: Carbon Fiber Reinforced Nylon (PA-CF) is the gold standard for its stiffness-to-weight ratio and high impact resistance.
- How long can a 3D printed mini war drone fly?
- Answer: With a Li-ion battery (18650) and an optimized 3D printed lightweight frame, you can achieve flight times of 20 to 30 minutes.
- Is it legal to build a mini war drone?
- Answer: Laws vary by country. Always check your local civil aviation (e.g., FAA, EASA, SHGM) regulations regarding sub-250g drones and tactical equipment.
- Does 3D printing affect the GPS signal of the drone?
- Answer: No, unlike carbon fiber, most 3D printing filaments are RF-transparent, which actually improves GPS and telemetry signal quality.