


PEA3D
Filament Moisture Management Station
Free Filament Recovery Tool: Moisture Analysis & Ideal Drying Guide
You’ve calibrated your e-steps, leveled your bed to perfection, and spent hours fine-tuning your slicer settings. Yet, the print comes out looking like a disaster: extreme stringing, random zits on the surface, and those dreaded popping sounds coming from the nozzle. The problem isn’t your printer; it’s the invisible water molecules trapped inside your material. In the world of additive manufacturing, moisture is a silent project killer. The PEA3D Intelligent Filament Recipe Assistant was developed to save you from the cost of trial and error, ensuring you get maximum performance from every single spool.
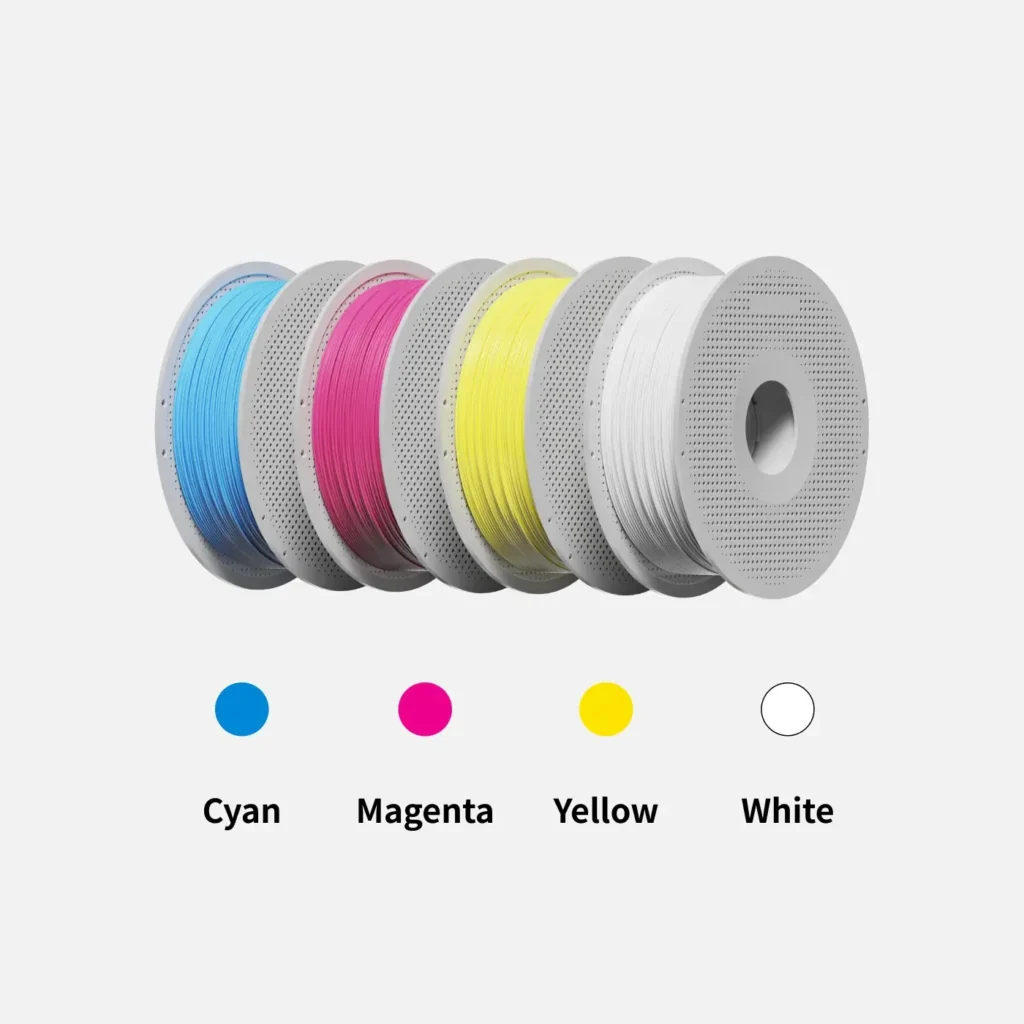
Material Analysis: The Science of Why Filaments Fail
Not all 3D printing materials react to humidity the same way. To solve the problem, you first need to understand the chemical nature of the polymers you are using. This process is known as hydroscopy, where materials absorb moisture from the air at a molecular level. When water enters the polymer chain, it doesn’t just sit there; it often causes a chemical reaction called hydrolysis, which permanently weakens the material’s molecular weight and mechanical integrity.
PLA (Polylactic Acid): The Deceptive Brittleness
Many beginners believe PLA doesn’t absorb moisture. This is a myth. While PLA is less prone to stringing than other materials, it suffers from significant degradation when exposed to humidity. If your filament snaps like a dry twig when you try to bend it, it’s likely “thirsty.” Drying PLA restores its ductility and prevents mid-print snaps. However, you must be careful: PLA has a low glass transition temperature ($T_g$) of approximately 55-60°C. Exceeding this during drying can cause the layers on the spool to fuse together, rendering the entire roll useless.
PETG: The Humidity Magnet
PETG is beloved for its mechanical strength, but it is notoriously difficult to manage regarding moisture. When PETG is wet, it experiences severe “oozing.” No matter ne how high your retraction settings are, the plastic continues to seep out of the nozzle due to increased internal pressure from steam. This creates those impossible-to-clean “spider webs” across your parts. Our calculator uses an optimized recipe of 65°C for 6 hours to restore PETG to its factory-fresh state, significantly improving surface clarity and strength.
Engineering Plastics: Nylon, PA, and Carbon Fiber
For Nylon, moisture is not an option; it’s a character trait. Some Nylon blends can become unprintable within just 18 hours of exposure to a humid environment. Printing with saturated Nylon results in a foamy, weak structure that lacks any structural utility. In Carbon Fiber reinforced filaments, the fibers act as conduits that trap moisture deep within the core, leading to frequent and frustrating nozzle clogging. For technical data on how high-end materials react to environmental factors, we recommend consulting professional resources like the eSUN filament guide or Polymaker technical data sheets for industrial-grade material specifications.
Symptoms of Wet Filament: 4 Critical Signs
Before using our recovery tool, you can diagnose the severity of the moisture damage by looking for these specific red flags:
- Popping and Hissing: If you hear tiny explosions at the nozzle, water is instantly turning into steam ($100$°C to $200$°C+ expansion), leaving microscopic voids in your print.
- Surface Bubbles and “Zits”: These random blemishes are the exit wounds of steam escaping the molten plastic as it is extruded.
- Loss of Transparency: Clear or translucent filaments like PETG or TPU will become cloudy and “milky” when saturated with water.
- Extreme Stringing: Moisture lowers the viscosity of the plastic, making it flow uncontrollably during non-print travel moves.
The Economic Impact of Moisture Management
Think about the cost of a 1kg spool of high-quality filament and the cumulative cost of a failed 20-hour print, including electricity and machine wear. By implementing a strict drying protocol, you can achieve:
- Waste Reduction: Using recovered filament increases your success rate to over 95%, saving dozens of spools per year.
- Nozzle Health: Consistent flow prevents the uneven pressure that leads to clogs and premature nozzle wear. For more on maintaining your hardware alongside your materials, check out our 3D Printer Maintenance Guide to ensure your equipment is as optimized as your filament.
- Professional Standards: If you run a print farm, sending out moisture-weakened parts destroys your brand reputation. Strength tests show that dried filament can produce parts up to 30% stronger than those printed with “wet” material.
Drying Methods: From Household Solutions to Professional Equipment
Drying filament is not merely about heating the plastic; it is a controlled process of moisture diffusion. To successfully recover your material, you must balance heat and airflow to allow water molecules to escape without deforming the filament’s shape or its molecular structure. Depending on your budget and available tools, there are several ways to implement the recipes generated by our tool.
Professional Filament Dryers (The Gold Standard)
Dedicated dryers, such as those from brands like Sunlu, Eibos, or Sovol, are specifically engineered for this task. These devices use low-wattage heating elements combined with active fan circulation to ensure a uniform temperature throughout the chamber.
- Why they work: They offer precise temperature control, often with built-in hygrometers to monitor real-time humidity (RH) levels.
- The Solution: Most professional dryers allow you to print directly from the heated chamber. This is a game-changer for “ultra-thirsty” materials like Nylon or TPU, which can begin absorbing moisture again in as little as 30 minutes if left in the open air.
The Kitchen Oven (High-Risk Manual Method)
Many hobbyists turn to their kitchen oven as a quick fix. While it can work, it is the most common cause of “spool-melting” disasters.
- The Problem: Kitchen ovens are designed for high-temperature cooking, and their thermostats are often inaccurate at the lower ranges ($45$°C – $70$°C) required for filament. A set temperature of $50$°C can easily spike to $70$°C when the heating elements kick in, fusing your PLA into a solid block of plastic.
- The Solution: If you must use an oven, ensure it is a convection (fan-assisted) model for even heat distribution. Always verify the internal temperature with a secondary digital thermometer before placing your spool inside.
Heated Bed and Box Method (The Emergency Hack)
If you don’t have a dedicated dryer, your 3D printer itself can act as one.
- The Application: Place the spool horizontally on the heated bed. Cover it with the cardboard box the filament came in, ensuring you have poked a few ventilation holes in the top to let the moist air escape.
- The Solution: Our PEA3D algorithm accounts for this method’s lower efficiency. When you select “Heated Bed + Box” in the calculator, it automatically extends the drying time by approximately 50% to compensate for the lack of active airflow.
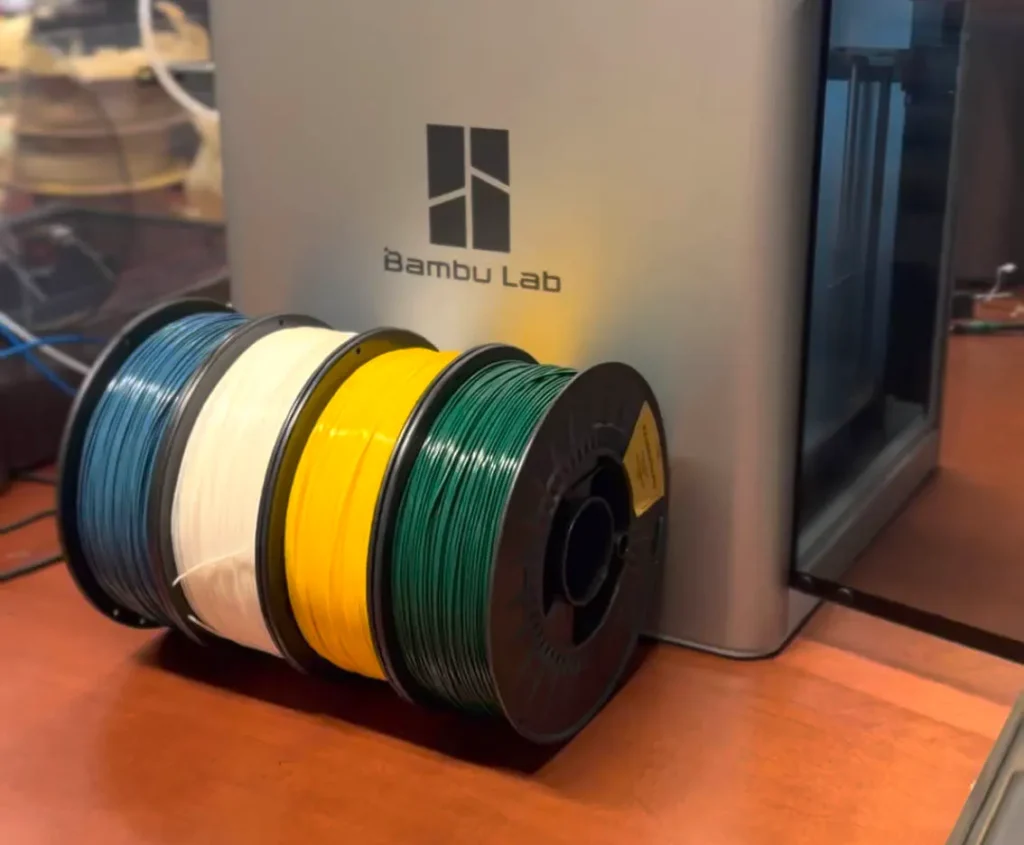
Strategic Storage: Preventing Re-Absorption
Once you have successfully recovered your filament using our professional recipes, the battle is only half-won. You must prevent the material from “drinking” moisture again.
Vacuum Sealed Bags
This is the most cost-effective method for long-term storage. However, simply removing the air is not enough. You must include a fresh packet of Silica Gel (Desiccant). Keep in mind that silica gel is not infinite; when the beads change color (from orange to green or blue to pink), they have become saturated and must be dried out in a microwave or oven to regain their effectiveness.
Active Dryboxes for Printing
A drybox is a sealed container that allows the filament to feed directly into the printer through a PTFE tube. This ensures that even during a 48-hour print, the material remains at a constant humidity level of below 15%. For enthusiasts looking for high-performance builds, we recommend checking out the technical specifications provided by Prusa Research regarding environment-controlled printing for engineering-grade filaments.
Step-by-Step Filament Recovery Workflow
To achieve professional-grade results every time, follow this optimized sequence:
- Diagnosis: Check for the 4 signs of moisture damage (popping, stringing, brittleness, or cloudiness).
- Analysis: Input your material type and the severity of the symptoms into the PEA3D Recovery Tool.
- Execution: Set your drying device to the recommended temperature. Do not open the lid frequently, as heat loss significantly extends the required drying time.
- Verification: Perform a small “stringing test” or “benchy” after the cycle is complete. If issues persist, the moisture may be deep-seated; increase the time by 20% and repeat.
- Protection: Immediately move the spool to a vacuum bag or drybox while it is still warm. Warm plastic is less likely to trap surface moisture as it cools in a controlled environment.
Summary: Elevate Your Print Quality Today
Managing filament moisture is the difference between a “good enough” print and a professional-grade part. By utilizing the PEA3D Intelligent Filament Recipe Assistant, you are not just fixing a mistake; you are optimizing your entire additive manufacturing workflow. Proper moisture management leads to:
- 80% Reduction in Nozzle Clogs: Smoother flow means less downtime.
- Maximum Mechanical Strength: Essential for functional parts that need to withstand stress.
- Visual Excellence: Crystal clear transparencies and smooth, “zits-free” outer walls.
Don’t let humidity dictate the quality of your work. Treat your filament with the same precision you treat your printer hardware, and watch your success rate soar.
Frequently Asked Questions
PEA3D Intelligent Filament Recipe Assistant
A professional web-based tool designed to analyze moisture in 3D printer filaments and provide scientific drying recipes for PLA, PETG, Nylon, and more.
Price Currency: USD
Operating System: Web Browser (All Platforms)
Application Category: 3D Printing Utility / Technical Calculator
4.9