
Artillery Cost Calculator
Calculate material and energy expenses for Artillery printers
The Definitive Guide to Artillery 3D Printing Economics: Maximizing ROI and Technical Efficiency
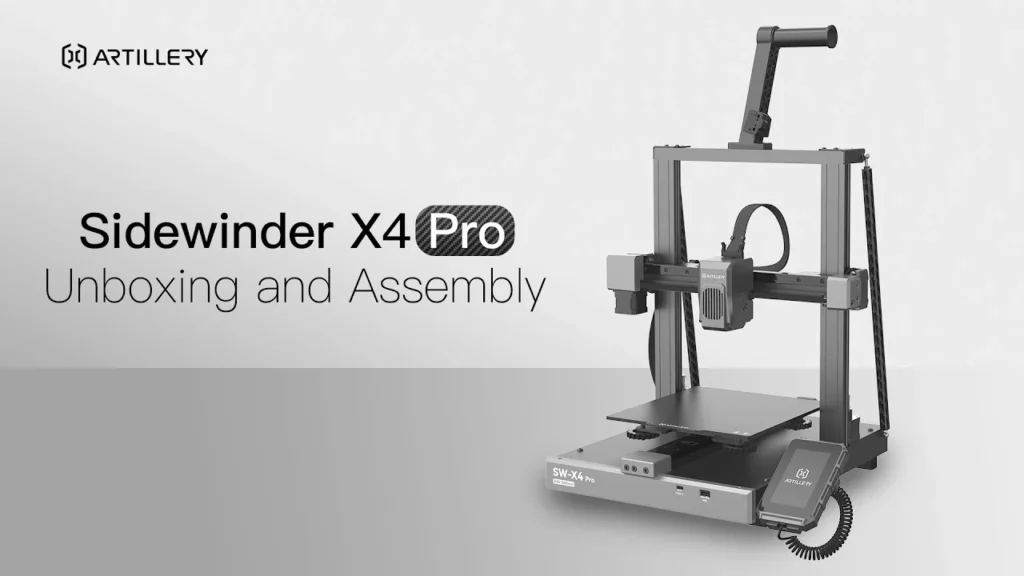
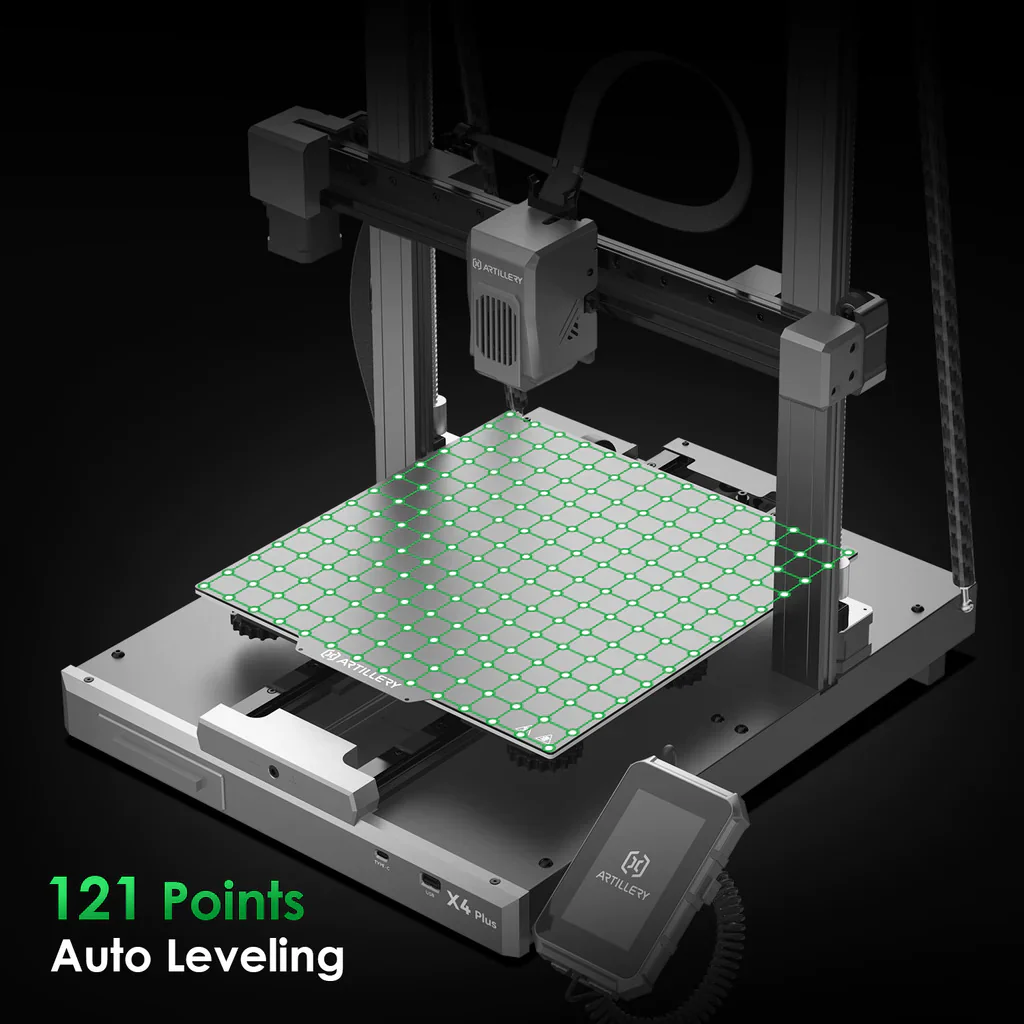
The transition of 3D printing from a niche hobby to a viable decentralized manufacturing method has brought the question of “operating costs” to the forefront. For users of Artillery 3D printers—a brand synonymous with high-speed performance and rapid-heat technology—understanding the financial landscape is critical. Whether you are operating a single Artillery Sidewinder X4 Plus or a fleet of Artillery Genius Pro units, the path to profitability (or budget-friendly hobbyist printing) lies in mastering the variables of energy, material, and machine longevity.
This guide provides an exhaustive analysis of the Artillery ecosystem, detailing how to optimize every cent spent on electricity, filament, and maintenance.
1. The Engineering Philosophy of Artillery: Impact on Cost
To understand the costs, one must first understand the machine. Artillery machines are engineered differently than their DC-powered counterparts. The most significant differentiator is the AC-powered heated bed.
In a standard 24V DC printer, the bed heats up slowly, drawing a constant, lower-voltage current. Artillery’s Sidewinder series utilizes a 110V/220V AC bed heater. While this sounds like it would consume more electricity, the reality is often the opposite. Because the AC bed reaches the target temperature in a fraction of the time, the “energy-to-temperature” efficiency is higher. Once at the target (e.g., 60°C for PLA), the PID (Proportional-Integral-Derivative) controller pulses the power to maintain it.
Furthermore, Artillery’s use of Direct Drive extruders (the Titan and All-Metal series) across almost their entire lineup means better control over filament retraction. This leads to fewer stringing issues and failed prints, which are hidden costs that often plague Bowden-tube systems.
2. Energy Consumption: Deconstructing the Wattage
One of the most persistent myths in 3D printing is that these machines are “power hogs.” By deconstructing the power draw of Artillery models, we can see the true impact on your utility bill.
2.1. The Warm-Up Phase
During the first 2-5 minutes of a print, an Artillery Sidewinder X4 might draw up to 450-500 Watts as both the nozzle and the large AC bed heat up simultaneously. This is the peak load.
2.2. The Sustained Print Phase
Once the heaters stabilize, the power draw drops significantly. The stepper motors (X, Y, Z, and E) consume relatively little power—typically around 10-20 Watts each. The cooling fans and the mainboard add another 10-15 Watts. The pulsing of the heated bed brings the average sustained draw to approximately 120W to 160W, depending on the ambient temperature and the bed’s target heat.
2.3. Ambient Influence
If your Artillery printer is in a cold room or near an air conditioner, the bed will pulse more frequently to maintain heat. Using an enclosure can reduce the “duty cycle” of the heater by 20-30%, directly lowering your energy cost per hour.
For a deeper dive into professional energy analysis and to see how these wattages compare to other industrial-grade desktop units, you can refer to our 3D printing cost calculator, which uses these specific Artillery power profiles to generate precise reports.
3. Material Science: Filament Costs vs. Quality
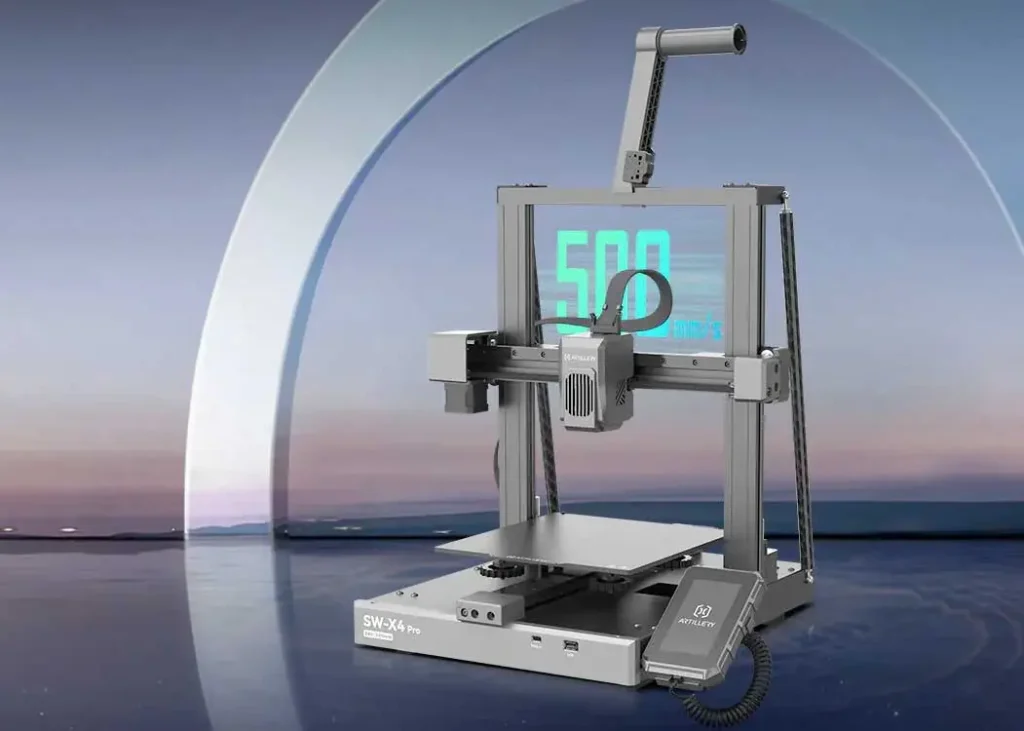
Filament represents the largest recurring expenditure. In the high-speed era of the Artillery X4 Pro and Plus (capable of 500mm/s), the relationship between material quality and cost has shifted.
3.1. High-Speed Filament Requirements
Printing at 300mm/s+ requires filament with high thermal conductivity and consistent flow properties. “Budget” filaments often have diameter inconsistencies. At high speeds, a ±0.05mm deviation can cause under-extrusion or jams. A jammed nozzle in the middle of a 20-hour print doesn’t just waste the plastic; it wastes the 15 hours of electricity and, most importantly, your time.
3.2. Calculating the “Real” Gram Price
A 1kg spool of PLA for $20 implies $0.02 per gram. However, you must factor in:
- The Purge and Prime: Artillery printers often run a purge line at the start.
- Supports: Slicing a complex geometry without optimizing support density can lead to 30% of your material being thrown in the trash.
- Moisture Absorption: If your filament absorbs moisture, the resulting “popping” and poor surface finish will lead to discarded parts. Investing in a dry box is an upfront cost that lowers your long-term material waste.
4. The “Hidden” Costs: Maintenance and Amortization
A truly professional approach to 3D printing involves Amortization—the process of spreading the cost of the machine over its productive life.
4.1. Machine Lifespan
If you buy an Artillery Sidewinder X4 Plus for roughly $450, and you expect it to run for 5,000 hours before requiring a major overhaul (motor replacements, frame realignment), your “machine cost” is $0.09 per hour. Failing to include this in your quotes or budget means you aren’t saving for your next machine.
4.2. Wear Items
Artillery printers use specific components that wear out:
- V-Slot Wheels: These poly-carbonate wheels provide silent motion but eventually develop flat spots.
- Nozzles: Standard brass nozzles are cheap but wear out quickly with abrasive filaments (like Wood or Glow-in-the-dark). Switching to a hardened steel nozzle increases the upfront cost but lowers the cost-per-print over a year.
- Ribbon Cables: Artillery’s signature look comes from flat ribbon cables. While elegant, they are subject to “work hardening” from constant bending. Keep a spare set; a broken cable is a 0% efficiency event.
5. Slicer Optimization: The Digital Cost-Cutter
Your choice of slicer settings (Cura, PrusaSlicer, Orca Slicer) is your most powerful tool for cost reduction.
5.1. Infill Patterns
Moving from 20% “Grid” infill to 12% “Gyroid” infill can maintain structural integrity while reducing material use by 15-20%. Gyroid also allows for faster printing speeds as it doesn’t cross its own path, reducing the risk of the nozzle hitting the part and causing a layer shift.
5.2. Adaptive Layer Heights
Why print a vertical wall at 0.12mm when 0.28mm looks identical? Using adaptive layer heights allows the printer to speed up on simple vertical sections and slow down only for complex curves, optimizing the “time-to-cost” ratio.
6. High-Speed Printing: Is it Actually Cheaper?
The Artillery X4 series marketed “speed” as its primary feature. Technically, printing faster increases the instantaneous power draw of the motors and the hotend (to melt plastic faster). However, because the print finishes in 4 hours instead of 12, the total energy consumed by the heated bed—the most power-hungry part of the printer—is reduced by 60-70%. Speed, when handled correctly with high-quality components, is a major cost-saving feature.
7. Scaling Up: The Print Farm Perspective
When moving from one Artillery printer to five or ten, the economics change:
- Bulk Filament Purchasing: Buying 10kg-20kg at once can drop your material cost by 20%.
- Automated Management: Using software like OctoPrint or Mainsail (standard on Klipper-based Artillery models) allows you to monitor prints remotely, reducing the labor cost per part.
- Standardization: Using the same nozzles and cables across all machines simplifies your “spare parts” inventory, freeing up capital.
8. Conclusion: Mastering the Artillery Ecosystem
Mastering the costs of your Artillery 3D printer requires a holistic view. It is not just about finding the cheapest filament; it is about maximizing the “yield” of every spool and every kilowatt-hour.
By utilizing the rapid-heat advantages of the Sidewinder’s AC bed, optimizing your slicer settings to reduce waste, and accounting for the long-term amortization of the hardware, you transform your 3D printer from a black box of expenses into a precision-tuned production tool. Data is your best ally—always calculate your costs before you hit “Print,” and your workshop will remain both creative and profitable.
Artillery Brand Frequently Asked Questions
Artillery printers reach target temperatures quickly due to 220V AC beds. Average power consumption is 130W-160W for Sidewinder X2/X4 and 100W-120W for the Genius series during active printing.
To lower costs, maintain 10-15% infill, optimize retraction to prevent filament waste, and keep the printer in a draft-free area to maintain stable AC bed temperatures.
V-slot wheels, nozzles, and cables are consumables. For professional use, it is critical to allocate a small maintenance fee per 1000 print hours to ensure sustainable production.
The AC bed draws 400-500W initially but uses very little power once heated. It provides more efficient long-term energy management than standard DC-powered heated beds.
Large volume prints rely on filament weight and total time. It is critical to input the correct ‘Time’ and ‘Wattage’ values into the calculator, as bed heating costs accumulate over longer durations.