
Prusa Cost Calculator
MK4S, XL & MINI+ Fleet Analysis
Analyzing Operating and Printing Costs for Prusa 3D Printers
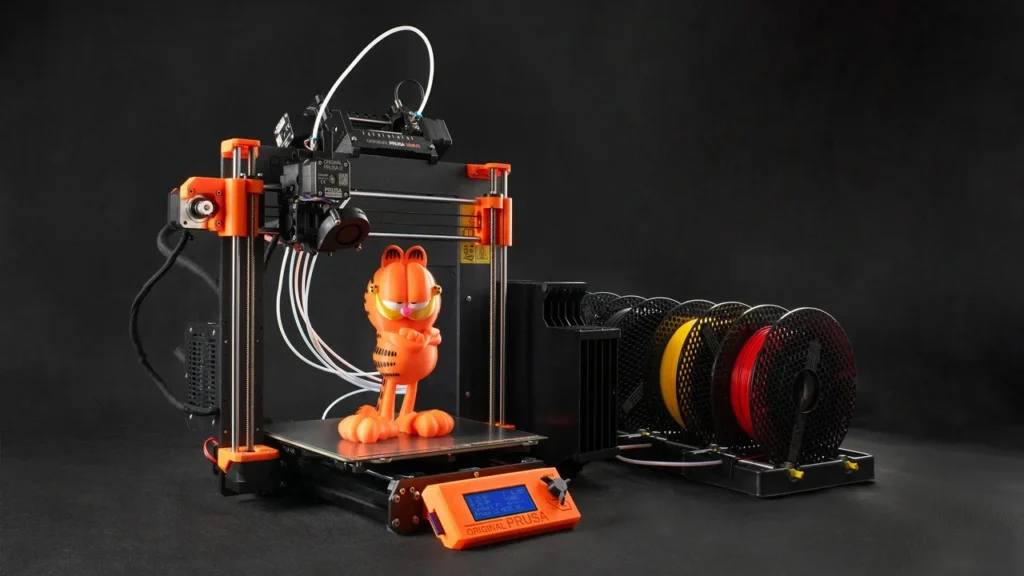
In the 3D printing world, Prusa is synonymous with “plug-and-play” reliability. However, for professional ventures or serious hobbyists, managing hidden costs is the key to long-term sustainability. The true cost of a print goes far beyond the price of the filament. When using a Prusa cost calculator, you must consider several core components to get an accurate picture:
1. Filament Consumption and Material Diversity
For high-precision machines like the Prusa MK4 or XL, the grammage data from your slicer is just the starting point. You must also account for:
- Support Structures: For complex geometries, 20-30% of your filament may be used for supports that end up in the bin.
- Waste & Purge: Don’t forget the filament used for purge lines, color changes (if using MMU3), and a standard 5% margin for failed prints or testing.
2. Energy Consumption (Electricity Costs)
Prusa printers are designed for efficiency, but during multi-day prints, the power draw of the heatbed and nozzle becomes significant.
- The Heating Phase: The initial warm-up draws the most current as the machine reaches target temperatures.
- Maintained Heat: Once printing starts, the power stabilizes, but printing materials like ASA or PC requires much higher bed temperatures, leading to higher electricity costs compared to PLA.
3. Depreciation and Maintenance
To calculate your Return on Investment (ROI), machine depreciation is a vital metric. You should divide the total cost of the printer by its expected lifespan (e.g., 10,000 working hours) to determine the “wear and tear” cost for every hour the machine is running.
Calculating Electricity and Depreciation Costs for Prusa Printers
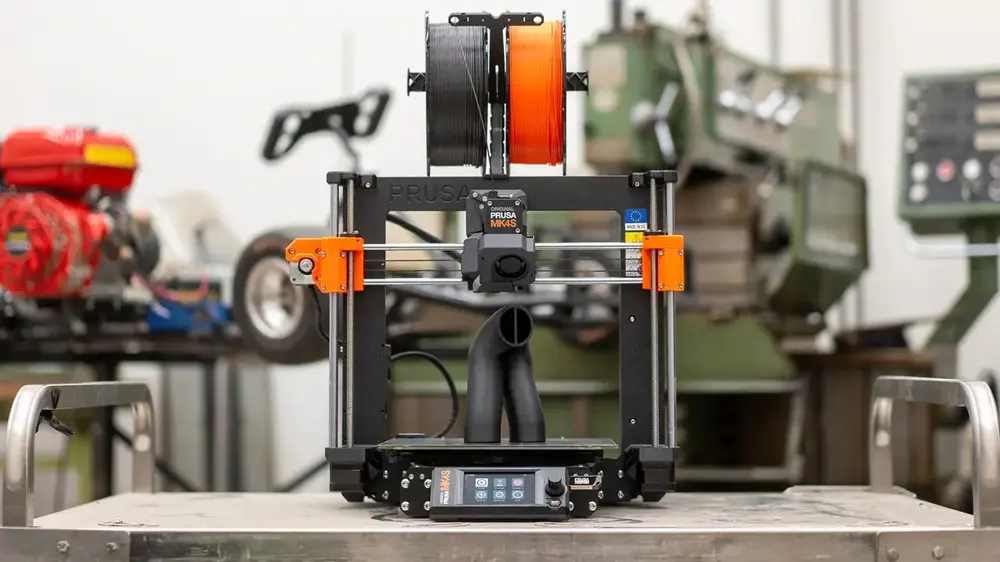
Determining the true cost of a 3D printing project requires looking at the invisible expenses that directly impact your profit margins or project budget. For models like the Prusa MK3S+, MK4, or XL, calculating these values with precision ensures your business or hobby remains sustainable.
The Mathematics of Energy Consumption
Prusa printers consume the most energy while heating the heatbed. During the printing process, this consumption fluctuates based on the temperatures required by the selected material (PLA, PETG, or ASA).
- The Warm-up Phase: In the first 5–10 minutes, the device draws maximum power to reach target temperatures.
- Steady State Printing: Once the bed and nozzle reach their goals, the thermostat cycles the power. On average, consumption settles between 80W and 120W.
- The Formula: Total Printing Hours x Average Watts / 1000 = Total kWh. Multiply this by your local electricity rate to find the net power cost.
Equipment Depreciation: Factoring in Wear and Tear
Every print contributes to the wear of your printer’s fans, bearings, and nozzle. Professional calculation involves spreading the purchase price of the machine over its expected operational hours.
- Annual Maintenance: The cost of replacing nozzles, tensioning belts, and lubrication should be included in your hourly rate to avoid surprise expenses.
- Software Integration: By using our Prusa cost calculator, you can input the purchase price and expected lifespan (e.g., 2–3 years) to automatically calculate the hourly depreciation.
Labor and Operational Overhead
Even though the printer works autonomously, your time spent slicing, removing parts from the bed, post-processing supports, and packaging has a value. Assign yourself an hourly wage and add this “operator time” to the final cost to ensure you are truly profitable.
Material Selection and Waste Management for Cost Optimization
One of the greatest advantages of Prusa printers is their ability to handle a vast array of filaments seamlessly. However, each material—be it PLA, PETG, ASA, or Flex—introduces different cost variables regarding purchase price and printing difficulty. To get accurate results from a Prusa cost calculator, you must analyze these material-based factors.
Cost Variance by Material Type
The price per spool isn’t the only factor; the material’s density and energy requirements also play a role:
- PLA: The most economical and energy-friendly option. Its low bed temperature (60°C) keeps electricity consumption at a minimum.
- PETG & ABS/ASA: These require higher bed (85-110°C) and nozzle temperatures, increasing hourly electricity costs by approximately 15-20%.
- Industrial Filaments (Carbon Fiber, Nylon): These are not only expensive but also abrasive, wearing down standard brass nozzles quickly. Factoring in “nozzle wear” as a maintenance cost is a professional necessity here.
Infill Rates and Support Strategies
The settings you choose in PrusaSlicer are your biggest leverage points for cost control:
- Infill Strategy: There is a massive gap in material usage and time between 20% and 40% infill. For non-structural parts, using optimized patterns like “Lightning” or “Gyroid” can save significant amounts of material.
- Support Waste: Material used for supports is essentially money thrown in the trash. By adjusting the part orientation or utilizing “Organic Supports,” you can reduce this waste by up to 30%.
Managing the Risk of Failed Prints
In 3D printing, a 100% success rate is an ideal, not always the reality. Power outages, nozzle clogs, or first-layer adhesion issues can happen. It is professional practice to add a “Risk/Scrap Margin” of about 5% to your total cost. This ensures that your budget remains balanced even when things don’t go perfectly.
Pricing Strategies and Profit Margins for Prusa 3D Prints
Calculating the raw costs is only the first step. If you are offering 3D printing services or simply want to measure the economic value of your projects, you need to know how much to add on top. Here is how to turn the data from your Prusa cost calculator into actual profit:
Adding Profit Margins to Net Costs
Charging only for filament and electricity is a recipe for long-term loss. Professional pricing is built on three pillars:
- Raw Materials and Energy: Your variable costs (Filament + Electricity).
- Operational Overhead: Your fixed costs (Depreciation + Rent + Software Licenses).
- Net Profit Margin: The portion you need to grow your business and invest in new Prusa models. In the industry, margins typically range between 30% and 100%.
Hourly Rate vs. Weight-Based Pricing
There are two main schools of thought for pricing in 3D printing:
- Price per Gram: Common for simple models but can lead to losses on detailed figures that take 48 hours to print but weigh very little.
- Machine Hourly Rate: This is the fairest method. You set a “rental fee” for every minute your printer runs. Since Prusa printers are known for high precision and low failure rates, this rate can be set slightly higher than standard machines because you are providing “print reliability” and “surface quality” as added value.
Express Shipping and Design Support
Customers often need parts immediately. With the “Input Shaping” technology found in the Prusa MK4, you can print at high speeds without sacrificing quality. This speed and technological edge can be billed as an “Express Service” fee. Additionally, any pre-print file repair or support optimization should be billed as a separate “Engineering/Design Hour” rate.
Frequently Asked Questions (FAQ)
Find answers to the most common questions regarding Prusa 3D printing cost estimation and management.
1. How much does running a Prusa printer add to my electricity bill?
A modern Prusa printer, like the MK4, consumes between 80W and 120W on average. This is comparable to running a desktop computer or a few old-fashioned light bulbs. Even for 24-hour prints, the electricity cost remains relatively low compared to the price of the filament itself.
2. What is the most effective way to reduce printing costs?
The most effective methods are optimizing your “Infill” percentage and minimizing “Support” structures. Additionally, using high-speed printing modes reduces the total machine hours, which in turn lowers the depreciation cost per part.
3. Why is a Prusa-specific cost calculator more accurate?
Because the Prusa ecosystem (hardware and PrusaSlicer) is tightly integrated, our calculator accounts for specific acceleration values and heating times. This results in a much lower margin of error compared to generic, one-size-fits-all calculators.
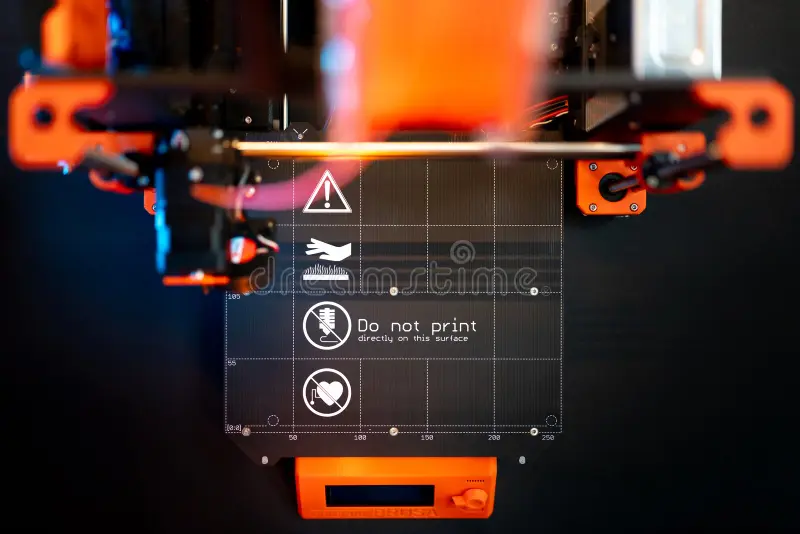
4. Should I include nozzle or bed sheet replacement in my costs?
Yes. Consumables like nozzles, PEI bed surfaces, and fans have a finite lifespan. In professional calculations, adding a small “maintenance fee” per hour ensures you have the budget ready when it’s time for replacements.
5. How do I calculate the cost of failed prints?
We recommend adding a flat 5% “Risk Margin” to your material costs. Bu covers initial calibration, purge lines, and the occasional failed print, ensuring your business stays profitable over the long term.