

3D Printed Rockets: The Ultimate 2026 Guide to Launching Your First DIY Model
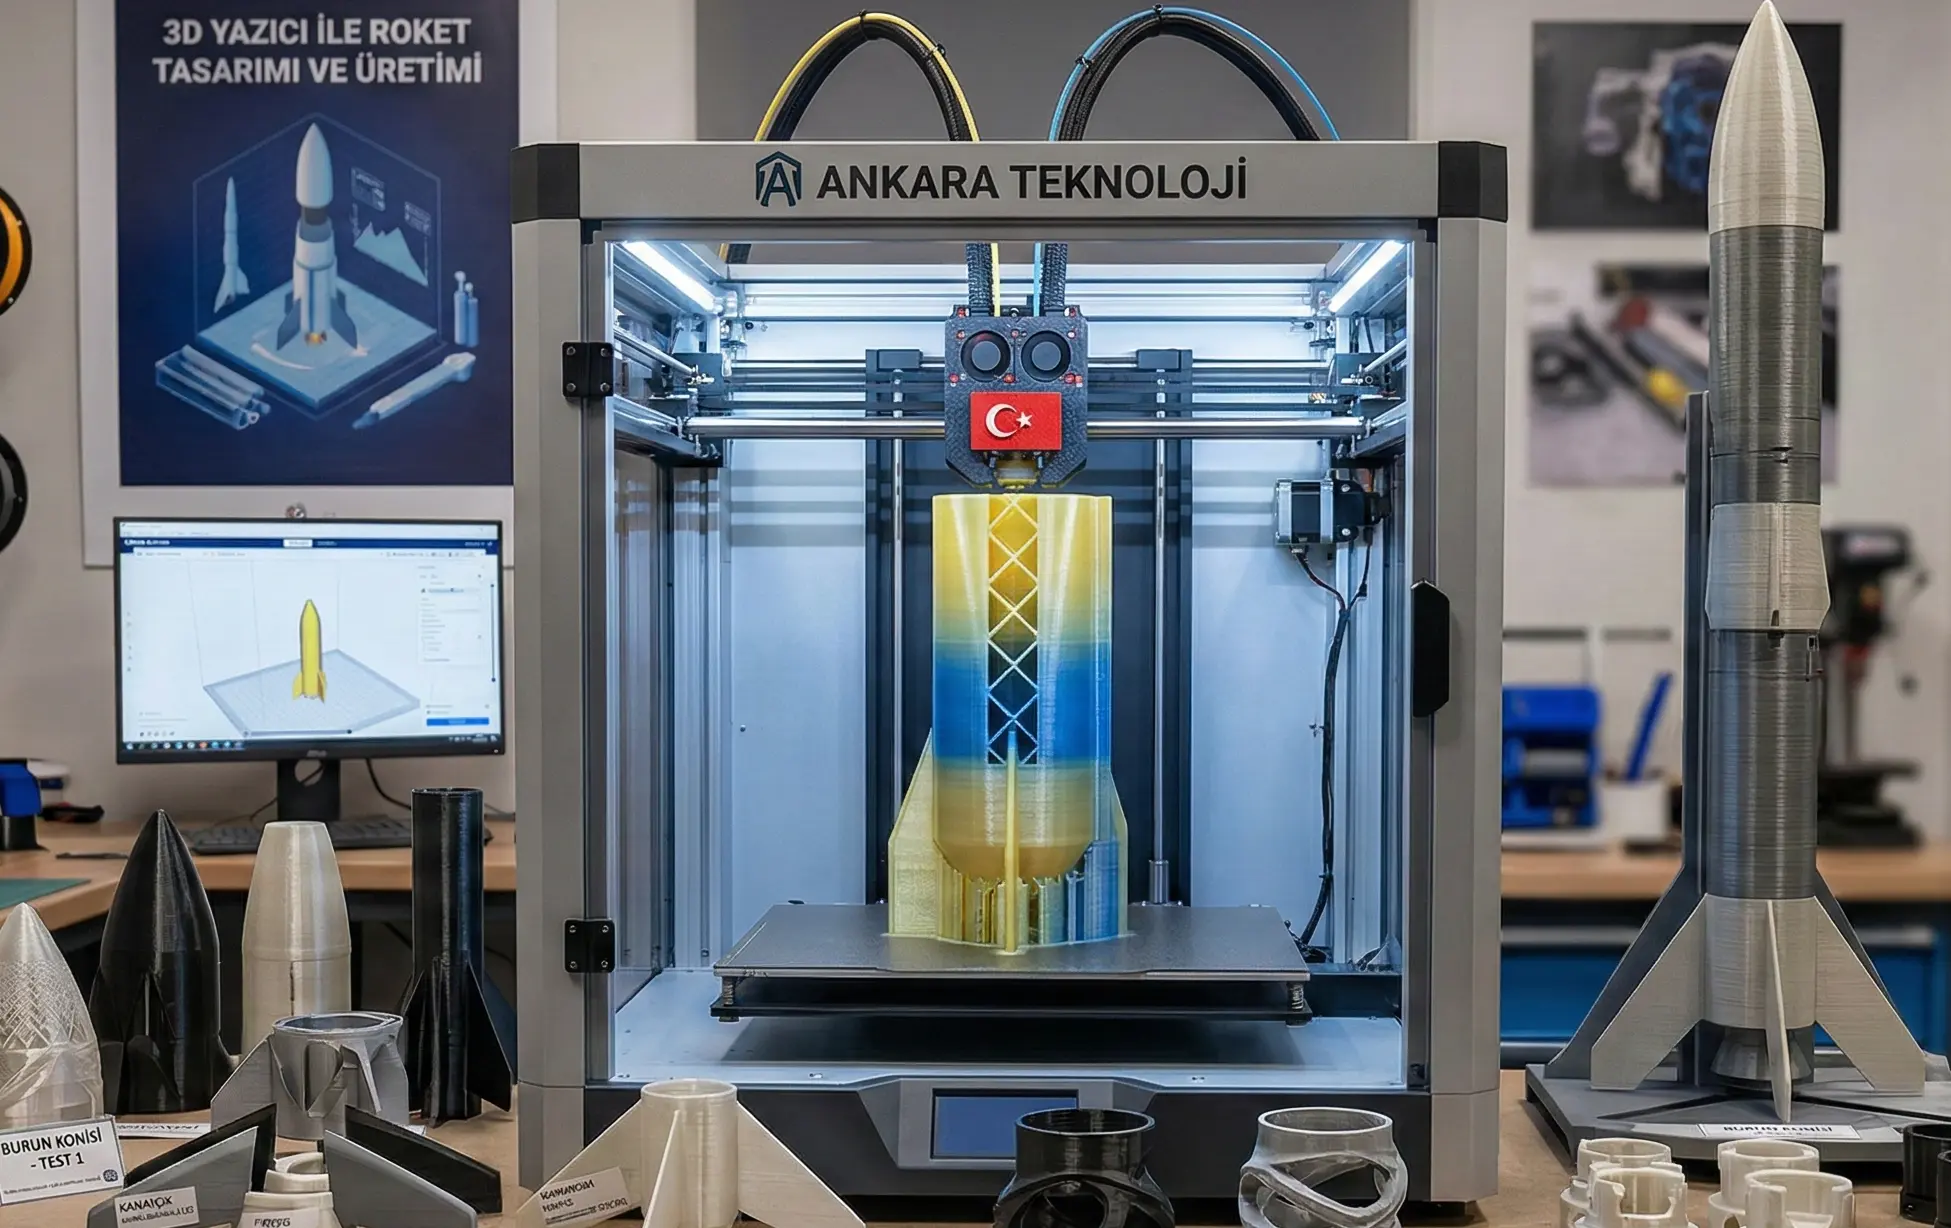
The aerospace industry is being transformed by 3D printing. Companies like SpaceX and Relativity Space are already printing massive rockets to reach orbit. But the real revolution is happening on your desk. 3D printing allows you to create complex aerodynamic shapes with a precision that traditional cardboard and wood models simply cannot match.
Whether you are an engineering student or a hobbyist, 3D printing is your fastest route to a successful launch.
Why 3D Print Your Rocket Parts?
- Aerodynamic Precision: Unlike hand-cut fins, 3D printing produces perfectly symmetrical components, which is vital for a straight flight path.
- Rapid Prototyping: If a flight design fails or is unstable, you can tweak your CAD file and print a new version in just a few hours.
- Advanced Materials: Modern filaments like PLA+, PETG, and Carbon Fiber Nylon are strong enough to withstand the intense forces of a high-speed launch.
The Anatomy of a 3D Printed Rocket
To build a successful rocket, you need to understand how the 3D printed parts work together:
- Nose Cone: Designed to pierce the air and reduce drag. It is usually hollow to allow for ballast (weight) to help balance the rocket’s center of gravity.
- Body Tube: The main fuselage that holds the parachute and recovery system. For the best results, use “Vase Mode” (spiralize outer contour) to keep it ultra-light and seamless.
- Fins: These act as stabilizers. They must be perfectly aligned to ensure the rocket doesn’t spin out of control during its ascent.
- Motor Mount: The heart of the rocket where the solid fuel engine sits. This area requires high heat resistance to prevent the plastic from melting during the burn.
SAFETY WARNING: 3D printing rockets is exciting, but involves flammable materials and high speeds. Always check your local laws and regulations regarding model rocketry. Launch only in wide, open areas far from people, animals, and buildings. Safety is the first rule of rocketry.
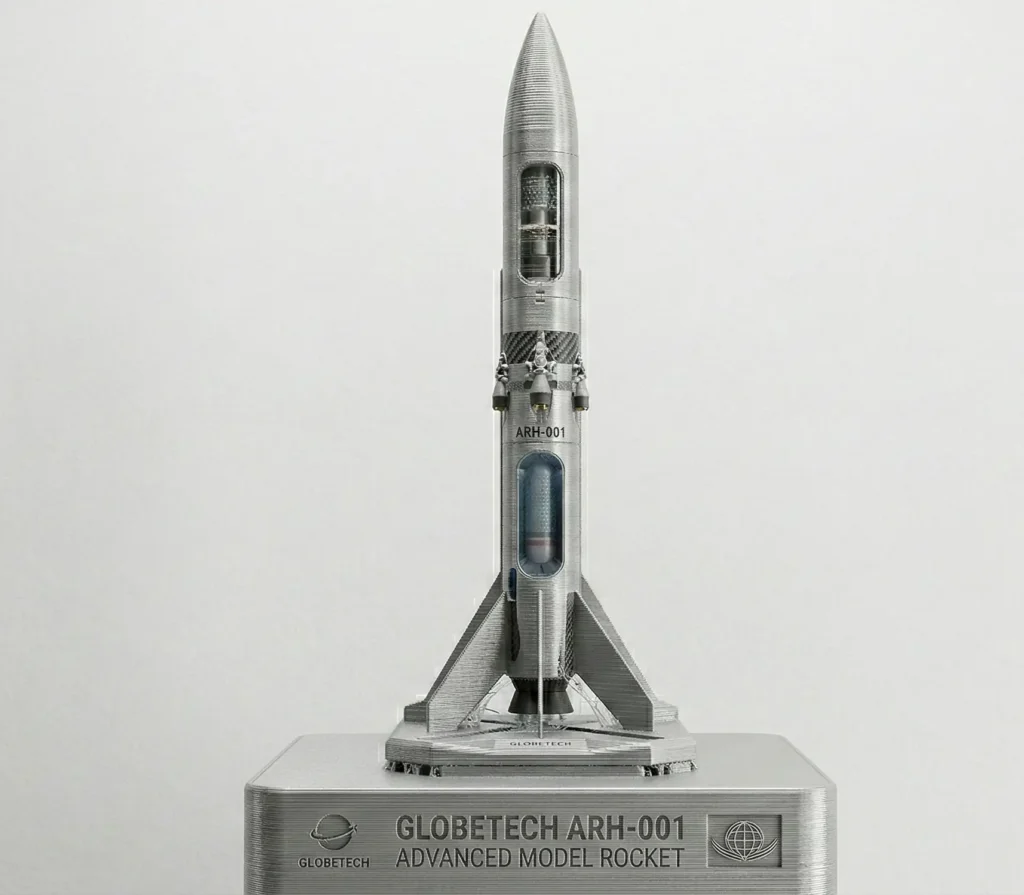
Which Filament Survives Supersonic Speeds? 3D Printed Rocket Materials Guide (2026)
Choosing the wrong material can turn your hard work into a pile of melted plastic in mid-air. When your rocket leaves the launch pad, it faces massive air resistance and intense motor heat within seconds. At pea3d.com, we have tested several materials to find out which ones actually survive the ultimate flight stress tests.
1. PLA+: The Secret Weapon for Beginners
Standard PLA is often too brittle for high-speed rocketry, as it can snap upon landing. However, PLA+ (Tough PLA) has added additives that absorb launch shocks much better.
- Best For: Body tubes and nose cones.
- Pros: Easiest to print and provides the smoothest aerodynamic finish.
- Cons: Low heat resistance (deforms above 60°C).
2. PETG: The Impact-Resistant Choice
If you want your rocket to survive a rough landing, PETG is your best friend. It bridges the gap between ease of use and high durability.
- Best For: Fins and internal recovery mechanisms.
- Pros: Higher heat resistance than PLA and tends to flex rather than snap upon impact.
- Cons: Can be “stringy,” requiring more post-processing for a smooth finish.
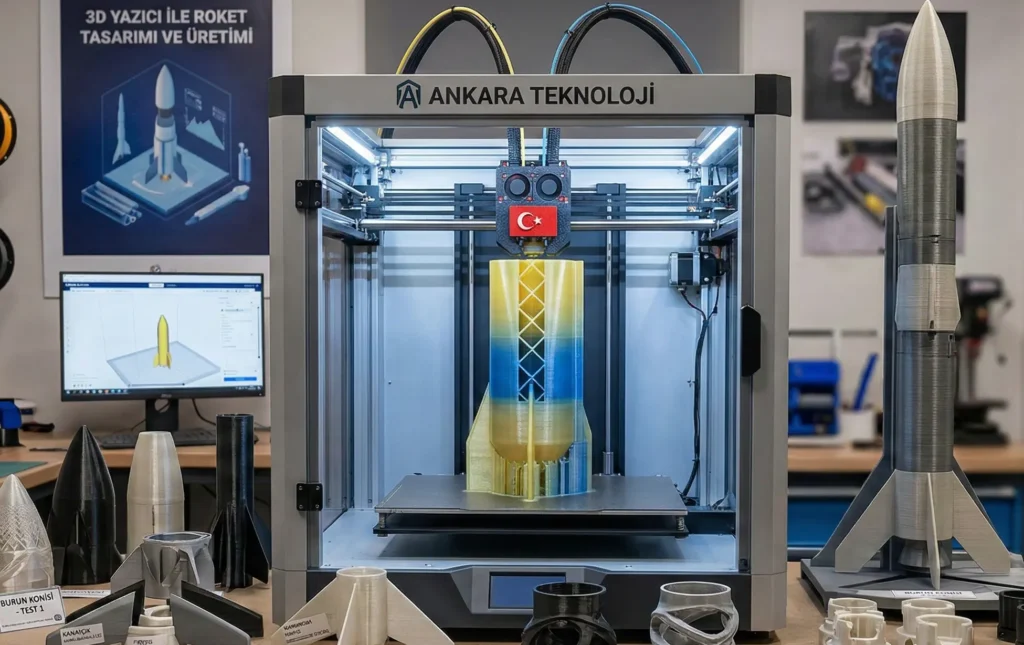
3. ABS/ASA: The “Armor” for Speed Freaks
If your rocket is pushing toward high speeds or your motor mount gets extremely hot, ABS or ASA is the professional choice.
- Best For: Motor mounts, exhaust sections, and high-altitude nose cones.
- Pros: Withstands temperatures up to 100°C. ASA is also UV resistant, meaning it won’t weaken under the sun at the launch site.
- Cons: Requires an enclosed printer and can warp if not managed correctly.
4. Carbon Fiber Reinforced Nylon (PA-CF): The Professional Grade
The world’s top model rocketeers use this for high-power flights. It is the gold standard for anyone looking to break records.
- Best For: Critical structural joints and fins for transonic flights.
- Pros: As stiff as steel but significantly lighter than standard plastic.
- Cons: Very expensive and requires a hardened steel nozzle to print.
Material Selection Matrix
| Rocket Component | Recommended Material | Critical Benefit |
| Body Tube | PLA+ (Vase Mode) | Ultra-Lightweight & Smooth |
| Nose Cone | ASA | Heat & UV Resistance |
| Fins | PETG / Carbon Nylon | Snap Resistance |
| Motor Mount | ABS / ASA | High Heat Tolerance |
SAFETY WARNING: 3D printing rockets is exciting, but involves flammable materials and high speeds. Always check your local laws and regulations regarding model rocketry. Launch only in wide, open areas far from people, animals, and buildings. Safety is the first rule of rocketry.
Slicer Secrets: How to Print a Rocket Light as a Feather but Strong as Steel
Weight is the enemy of altitude. However, a rocket that is too light might lack the structural integrity to survive the “Max-Q” (maximum dynamic pressure) during flight. To optimize your build on pea3d.com, you need to master these specific slicer settings to balance weight and strength.
1. The Magic of “Vase Mode” (Spiralize Outer Contour)
For the main body tube, traditional printing with infill is usually too heavy.
- The Technique: Use Vase Mode. This prints the tube in one continuous, seamless spiral.
- The Benefit: It eliminates the “Z-seam,” which is a common point of aerodynamic drag and structural weakness.
- Pro Tip: To make a single-wall tube strong enough, use a 0.6mm or 0.8mm nozzle. This creates a thicker, sturdier wall while remaining much lighter than a standard double-wall print.
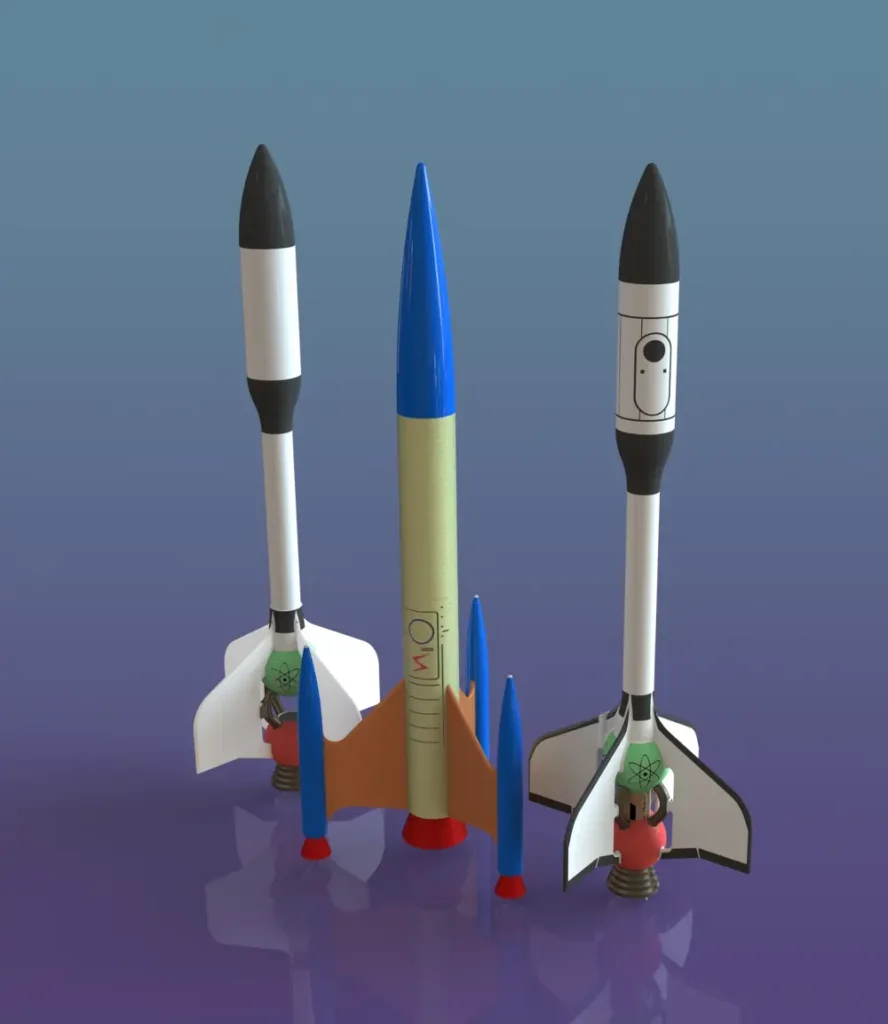
2. Walls and Infill for Fins and Nose Cones
Fins and nose cones cannot be printed in Vase Mode because they need internal support.
- Wall Line Count: Use at least 3 to 4 walls. The outer shell needs to be stiff to prevent buckling under wind pressure.
- Infill Pattern: Use Gyroid infill at 10-15%. Gyroid provides equal strength in all directions and is the most weight-efficient pattern available today.
- Top/Bottom Layers: Increase the top layers of the nose cone (6-8 layers). This adds “nose weight,” which is actually beneficial for flight stability, and protects the tip during landing.
3. Layer Adhesion and Temperature
A rocket failure often happens when the motor pushes the internal mount up, but air resistance pulls the body down. If your layer adhesion is weak, the rocket will “accordion” and snap at the layer lines.
- The Solution: Print at the higher end of your filament’s temperature range. This ensures the layers melt into each other for maximum bond strength.
- Cooling: For materials like PETG or ASA, keep the fan speed low (20-30%) to allow the layers more time to fuse together.
Ideal Rocket Slicing Profile (Summary)
- Layer Height: 0.2mm (Good balance between speed and surface smoothness).
- Print Speed: 50-60 mm/s (Slow down for the nose cone to ensure a sharp, clean tip).
- Shell Thickness: 1.2mm to 1.6mm for structural parts.
- Bottom Layers: Use a Brim of at least 10mm to ensure the tall, thin body tube stays attached to the bed during the long print.
Stability Secrets: Why Your Rocket Might Tumble and How to Fix It (CG vs. CP)
You could have the most beautiful 3D printed rocket in the world, but if the physics are wrong, it will spin out of control like a firework the moment it leaves the rail. At pea3d.com, we want your first flight to be a success. To achieve that, you must understand the relationship between two invisible points: CG and CP.
1. The Center of Gravity (CG)
The Center of Gravity is the exact point where the rocket balances.
- How to find it: Once your rocket is fully assembled (including the motor and parachute), try to balance it on your finger. The spot where it stays perfectly horizontal is your CG.
- The Challenge: Since the motor is at the very back, rockets are naturally “tail-heavy.” However, for a stable flight, we need the weight to be closer to the front.
2. The Center of Pressure (CP)
The Center of Pressure is the point where all the aerodynamic lift and drag forces act on the rocket.
- How it’s determined: The CP is mostly controlled by your fins. Larger fins shifted further back will move the CP toward the rear of the rocket.
3. The Golden Rule of Rocketry: CG over CP
For a rocket to fly straight like an arrow, the Center of Gravity (CG) must be in front of the Center of Pressure (CP).
- Stability Margin: A good rule of thumb is that the CG should be at least 1 to 2 times the rocket’s diameter ahead of the CP.
- Troubleshooting Stability:
- If your rocket is unstable: Add a small amount of “ballast” (like clay or a small metal nut) inside the tip of the nose cone to pull the CG forward.
- Alternative: Re-print your fins to be slightly larger or swept further back to push the CP toward the tail.
4. Simulating Before You Fly
Before you waste filament, we highly recommend using free software like OpenRocket. You can input your 3D design, and the software will calculate your CG and CP for you. This allows you to simulate the flight and adjust your 3D model until it is perfectly stable.
Launch Day & Expert FAQ: Finalizing Your 3D Printed Rocket Project
You’ve designed, printed, and balanced your rocket. Now comes the most thrilling part: the countdown. In this final installment for pea3d.com, we cover the essential pre-flight checks, answer the most common community questions, and provide the technical SEO roadmap to make your content go global.
1. The Pre-Flight Checklist
Before you head to the launch pad, perform these three critical checks to ensure your 3D printed masterpiece returns in one piece:
- Parachute Deployment: Ensure the parachute slides out of the body tube easily. 3D printed interiors can sometimes be “grippy”; a light dusting of talcum powder on the chute can prevent it from sticking.
- Motor Friction Fit: Your motor should be snug. If it’s loose, wrap a small piece of masking tape around it. If it’s too tight, sand the inside of your 3D printed motor mount.
- Shock Cord Anchor: Ensure the line connecting the nose cone to the body is securely glued or bolted. This is the most common point of failure during “ejection.”
2. Frequently Asked Questions (FAQ)
Q: Can I 3D print the rocket motor itself? A: No. 3D printed plastics cannot withstand the extreme internal pressure and localized heat of a combustion chamber. Always use certified, commercial solid-fuel rocket motors (like Estes or Klima) for your safety.
Q: How many times can I reuse a 3D printed rocket? A: If your recovery system (parachute) works correctly, a 3D printed rocket made of PETG or ASA can easily last for 20+ launches. PLA rockets may warp if left in a hot car between flights.
Q: Will my 3D printed fins melt during flight? A: Not from the air friction, but they can from the motor exhaust. This is why we recommend using ASA or ABS for the motor mount and the lower section of the fins.