

How 3D Printing is Revolutionizing Architectural Models
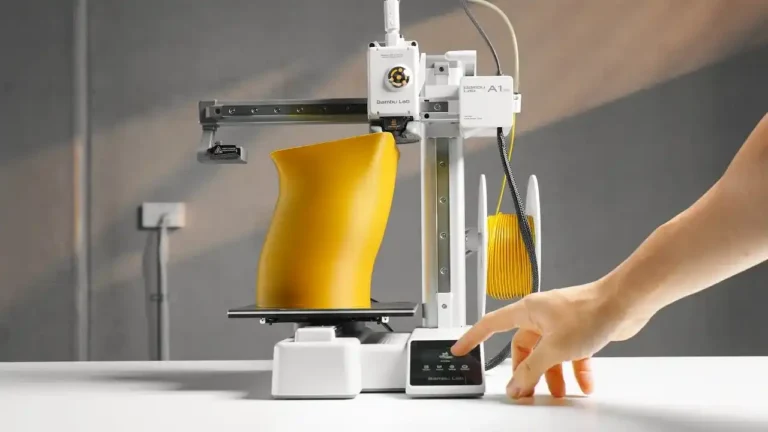
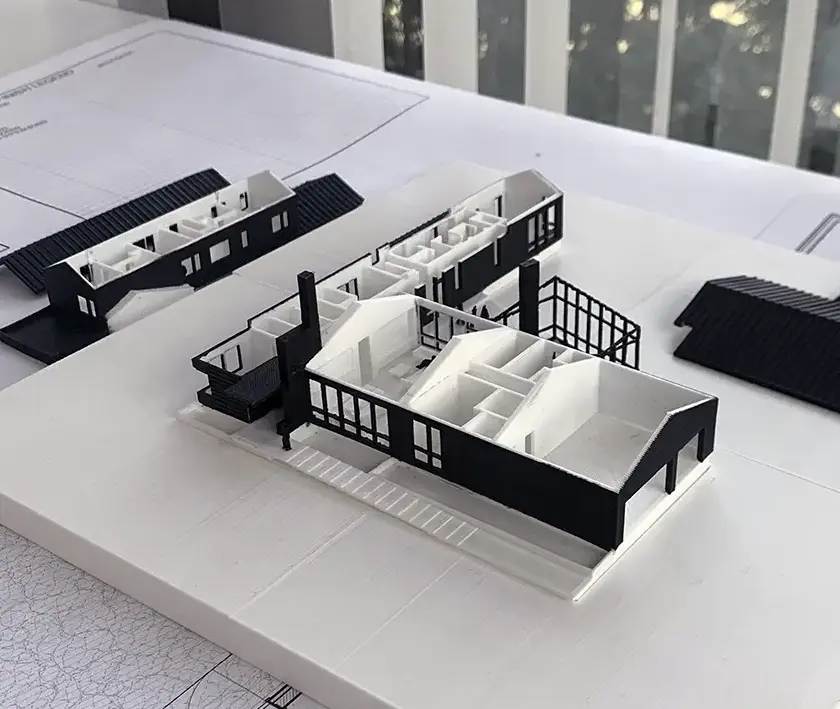
Traditional model making is dying. Why? Because it’s slow and expensive. In 2026, if you want a detailed architectural model, you turn to 3D printing. Whether you are an architecture student working on a thesis or a hobbyist building a miniature city, 3D printing is the ultimate shortcut to perfection.
Why Everyone is Switching to 3D Printed Models
- Extreme Speed: What used to take weeks of hand-cutting foam board and wood now takes a few hours of printing while you sleep.
- Insane Detail: Want to show the texture of a brick wall or a spiral staircase inside a 1:100 scale house? 3D printers can handle complex geometries that are impossible to do by hand.
- Easy Fixes: Made a mistake in your design? Just update your 3D file and print that specific part again. No more starting from scratch.
The Best 3D Printing Technologies for Models
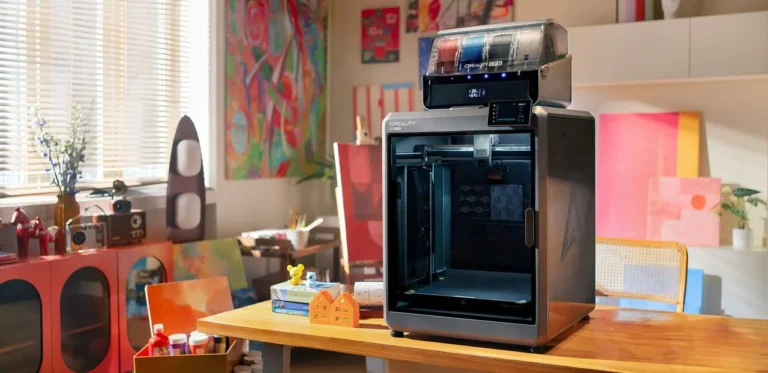
- FDM (Filament): Best for large-scale urban layouts and massing models. It’s cheap, fast, and uses durable plastics like PLA.
- SLA/Resin: This is where the magic happens for details. If you need tiny window frames, furniture, or realistic textures, resin printers offer the “museum quality” look.
- Hybrid Method: The pro secret? Print the main structure with FDM to save money and use Resin for the fine details.
Part 2: Best Materials and Essential Scaling Secrets
To get the most hits for pea3d.com, this section focuses on what users search for most: “Which filament is best?” and “How do I scale my model?” We’re keeping the tone fast-paced and helpful for everyone from students to DIY designers.
1. Choosing the Right Material (Filament vs. Resin)
The “look” of your model depends entirely on what you load into your printer. In 2026, these are the top picks for architectural enthusiasts:
- Matte PLA (The Aesthetic King): Regular PLA is shiny and looks like plastic. Matte PLA hides layer lines and gives the model a professional, “architectural plaster” finish.
- Stone & Marble Filaments: Perfect for classical buildings or monuments. These contain real stone powder, giving your model weight and a premium texture.
- Transparent Resin: If you want realistic windows or water features, clear resin is the only way to go. After a quick polish, it looks just like glass.
- Wood Fill Filament: Great for interior furniture or wooden cabins. It even smells like wood when it’s printing!
2. Scaling Your Model Like a Pro
You can’t just take a house file and shrink it to 1%. It will fail. You need to follow these scaling rules:
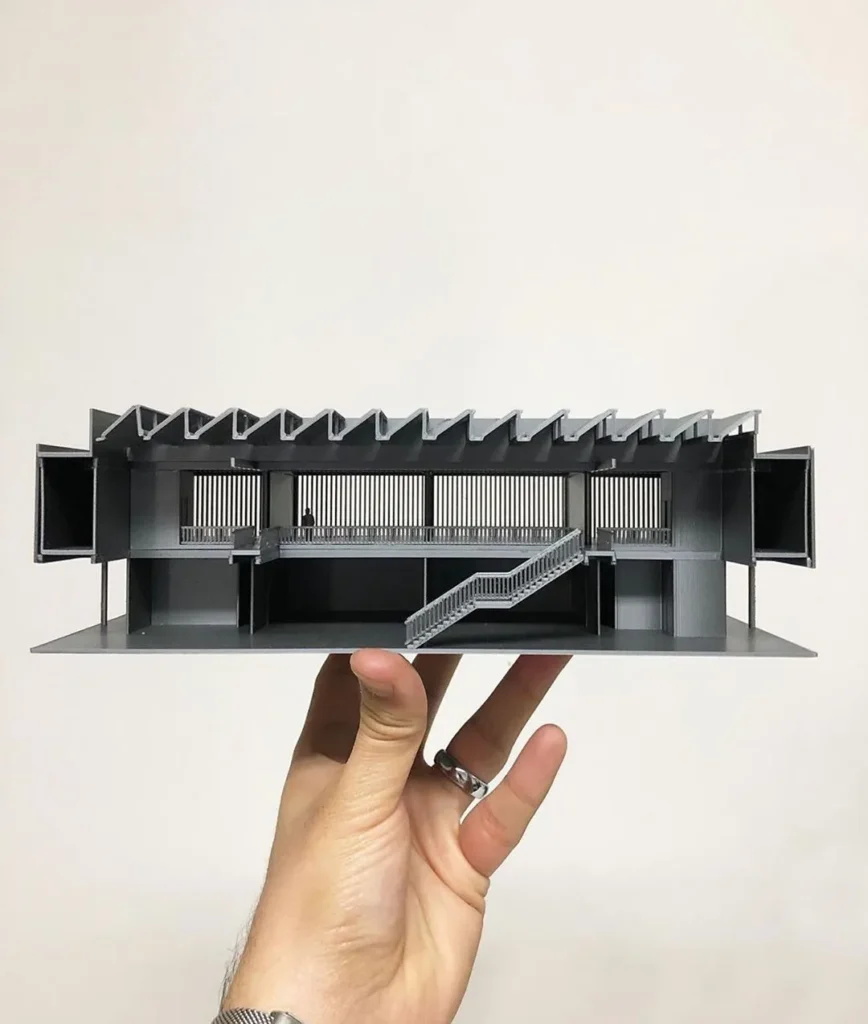
- The 1.5mm Rule: At small scales (like 1:200), walls can become thinner than a hair. Always check your slicer to make sure walls are at least 1.5mm to 2mm thick so they don’t snap off.
- Feature Simplification: If you are printing a city map at 1:1000, delete the door handles and window frames. Focus on the silhouette and massing.
- Modular Design: Don’t try to print a 5-story building in one go. Print it floor by floor. This makes it easier to clean, paint, and show the interior.
Part 3: Post-Processing – From Plastic to Professional
If you want your model to look like a high-end display rather than a plastic toy, post-processing is the most important step. This is what generates high engagement on pea3d.com, as users are always looking for “how-to” tips on finishing their prints.
1. Removing Supports Without Damage
Architectural models often have overhangs, balconies, and roofs that require support structures.
- The “Warm Water” Trick: For resin prints, soaking the model in warm water for a minute makes supports peel off like butter.
- Flush Cutters: For FDM models, use high-quality flush cutters. Never pull; always snip at the contact point to prevent scarring the building’s “skin.”
2. Sanding and Filling: The Secret to Smooth Walls
Layer lines are the enemy of realism. To get that smooth, concrete-like finish:
- Progressive Sanding: Start with 240 grit sandpaper to level the ridges and move up to 600 grit for a silky finish.
- Filler Primer: This is a miracle in a spray can. It fills the micro-gaps between layers. Spray a thin coat, let it dry, and do a final light sand. Your model will now look like it was molded, not printed.
3. Painting and Realistic Textures
Color is where your model comes to life.
- Matte Spray Paints: Avoid glossy paints; they make models look cheap. Use matte or satin finishes for a realistic architectural look.
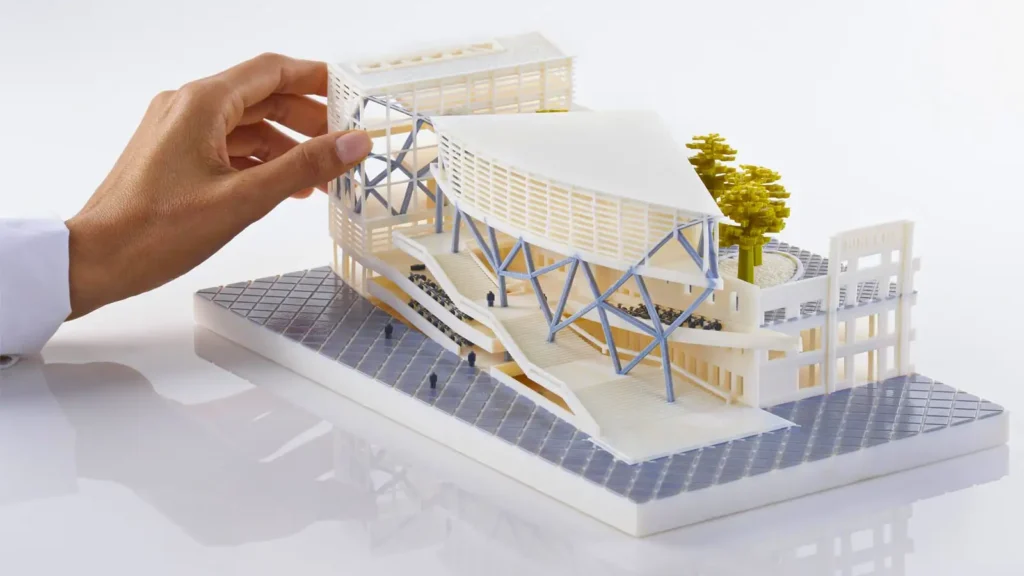
- Adding “Life” with Foliage: Use “scenic flock” (used in train modeling) for grass and sponge-bits for trees. Glue them onto your 3D printed base to add a sense of scale and realism.
- Weathering: A very light “wash” of diluted dark paint can highlight the shadows in windows and doors, making the architectural details pop.
Part 4: 7 Common 3D Printing Mistakes That Ruin Architectural Models
Even with the best printer, architectural modeling has its own set of traps. Avoiding these common mistakes will save you hours of wasted filament and help you achieve that perfect scale model on your first try.
1. Forgetting the “Manifold” Rule
Many architectural CAD files are designed for visual rendering, not physical building. If your walls are just “planes” with zero thickness, the printer won’t see them. Always ensure your model is a “solid” or “waterproof” mesh before hitting print.
2. Not Accounting for Tolerances
If you are printing a window to fit into a wall, don’t make them the exact same size. In 3D printing, you need a small gap (usually 0.1mm to 0.2mm) for parts to slide together smoothly. Without this, you’ll spend hours filing down plastic.
3. Scaling Down Without “Beefing Up”
When you scale a 1:1 house down to 1:100, a 5mm window frame becomes 0.05mm—which is impossible to print. You must manually thicken thin railings, frames, and columns in your 3D software so they are structurally sound at scale.
4. Poor Orientation Choice
Printing a flat wall vertically might give you a better surface finish, but it’s more likely to fail or wobble. Sometimes printing a large facade “flat” on the bed is the best way to ensure stability and speed, even if it means more sanding later.
5. Over-Supporting the Model
Using too many supports can scar the “visible” faces of your building. Whenever possible, tilt your model at a 45-degree angle or design it in parts to minimize the need for supports on the front-facing architectural details.
6. Ignoring the “First Layer”
For architectural models with large footprints, the first layer is everything. If the corners lift (warping), your entire building will look crooked. Always use a brim or a raft to keep those sharp foundation corners perfectly flat on the bed.
7. Rushing the Cooling Process
Removing a large FDM building from a hot print bed too quickly can cause the base to warp as it cools unevenly. Let the bed reach room temperature naturally to ensure your model stays perfectly level.
Part 5: FAQ and The Ultimate SEO Technical Suite
This final section provides the answers to the most common community questions and the technical data needed to make your post rank #1. By addressing these specific pain points, you will keep users on pea3d.com longer and decrease your bounce rate.
Frequently Asked Questions (FAQ)
1. Is it better to print an architectural model in one piece or multiple parts? For the best results, print in multiple parts. Splitting a building by floor allows you to clean the interior easily, use different materials (like clear resin for windows), and significantly reduces the risk of a total print failure.
2. How long does it typically take to 3D print a scale model? It depends on the complexity and technology. A simple FDM massing model might take 6 to 12 hours, whereas a high-detail resin model for a luxury villa can take 24 to 48 hours including curing and post-processing.
3. Which 3D software is best for preparing prints? While architects use Revit, Rhino, or SketchUp, you should always pass your model through a “fixer” like Microsoft 3D Builder or Meshmixer to ensure it is “manifold” (waterproof) before moving it to your slicer (like Cura or Bambu Studio).
4. Can 3D printed models be used for outdoor presentations? Yes, but you must use ASA or PETG filament. Standard PLA will warp if left in a car or under direct sunlight for too long. If you use PLA, ensure it is coated with a UV-resistant matte spray.