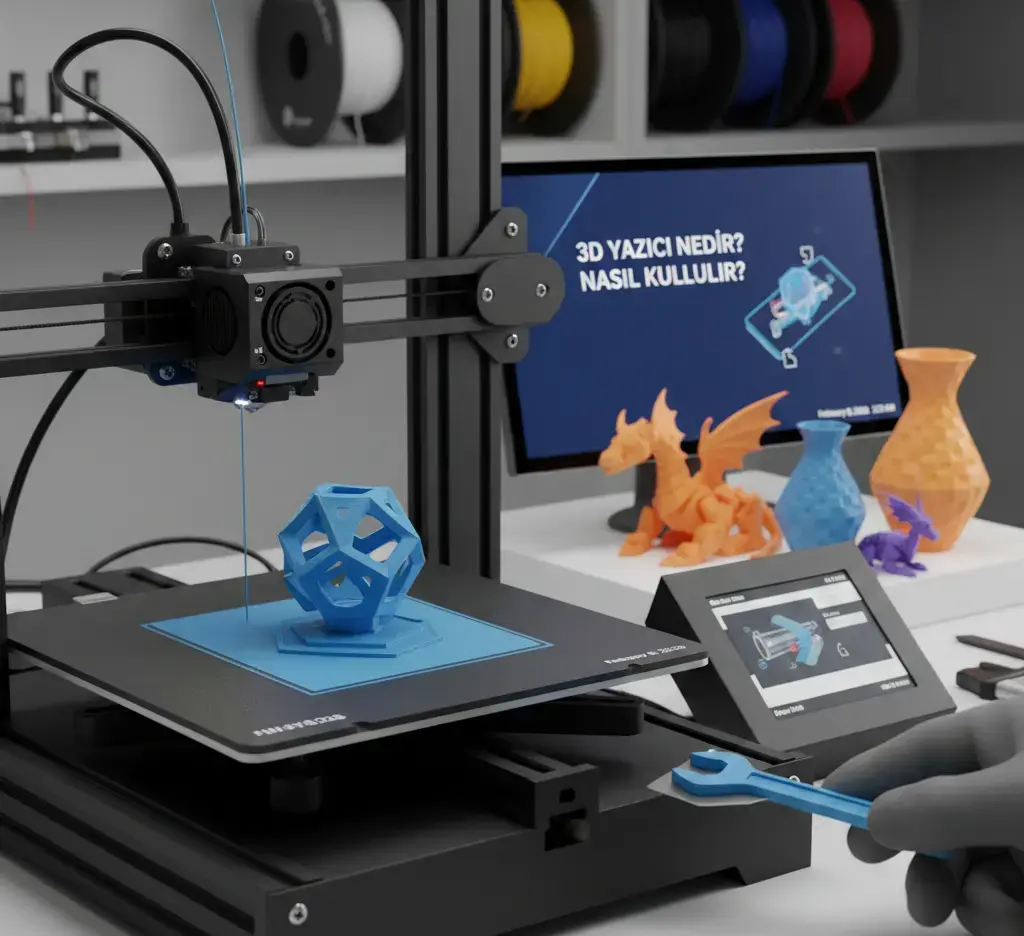
Part 1: How to Use a 3D Printer: A Beginner’s Guide to the Workflow
In this article, we answer the question of “how to use a 3d printer” in all its details. In 2026, 3D printing technology has become a household tool, but the learning curve can still feel steep. To master this technology, you need to understand that 3D printing is a bridge between the digital and physical worlds. The process always follows a specific three-step workflow: Modeling, Slicing, and Printing.
1. Acquiring a 3D Model (The Digital Phase)
Every print starts with a digital file, typically in .STL or .OBJ format. You have two main ways to get these:
- Download Ready-to-Print Models: Websites like Printables, Thingiverse, and Cults3D host millions of designs created by others.
- Create Your Own: If you want to build something unique, you can use CAD (Computer-Aided Design) software. Tinkercad is great for absolute beginners, while Fusion 360 is the industry standard for functional parts in 2026.
2. The Role of Slicing Software
A 3D printer cannot “see” a 3D model; it only understands coordinates. “Slicing” software like Cura, PrusaSlicer, or OrcaSlicer acts as the translator. It cuts your digital model into hundreds of thin horizontal layers and generates a G-Code file. This file tells the printer exactly where to move, how fast to go, and how much plastic to melt.
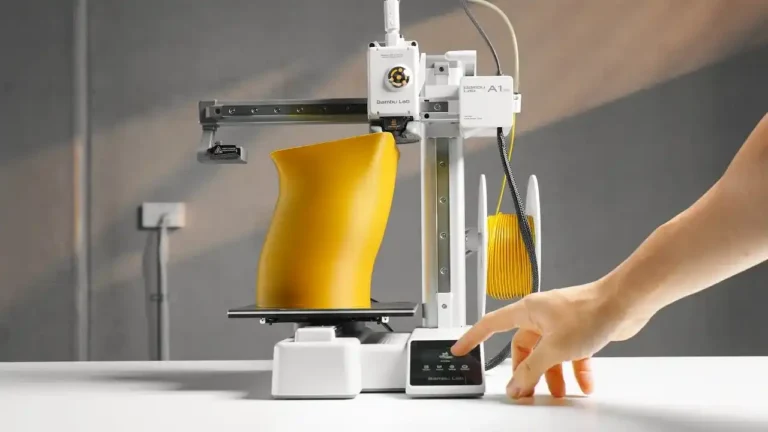
3. Preparing the Hardware
Before you hit “Start,” your printer needs a quick physical check:
- Bed Leveling: The print bed must be perfectly flat so the first layer sticks properly. Most 2026 printers do this automatically, but it’s always good to double-check.
- Loading Filament: Ensure your material (PLA, PETG, etc.) is loaded correctly and the nozzle is clean of any old residue.
- Surface Preparation: A clean bed is a happy bed. A quick wipe with isopropyl alcohol ensures your print won’t peel off halfway through.
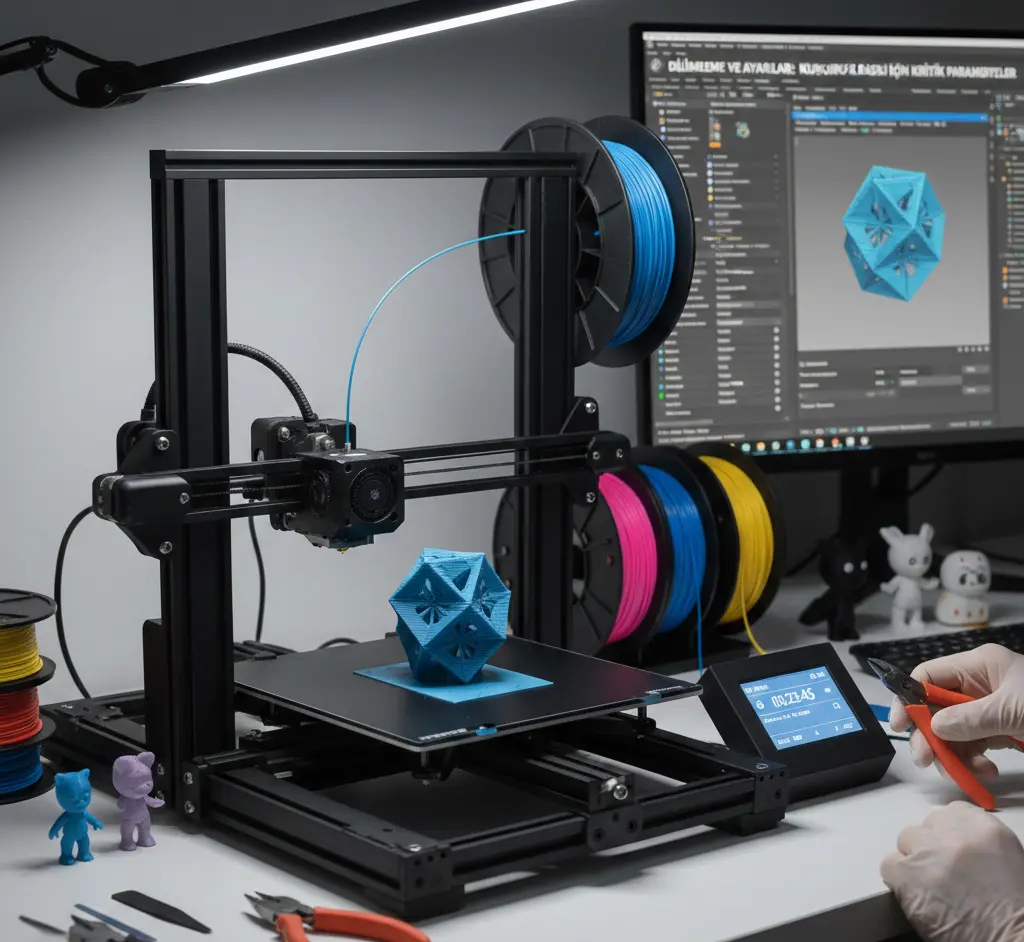
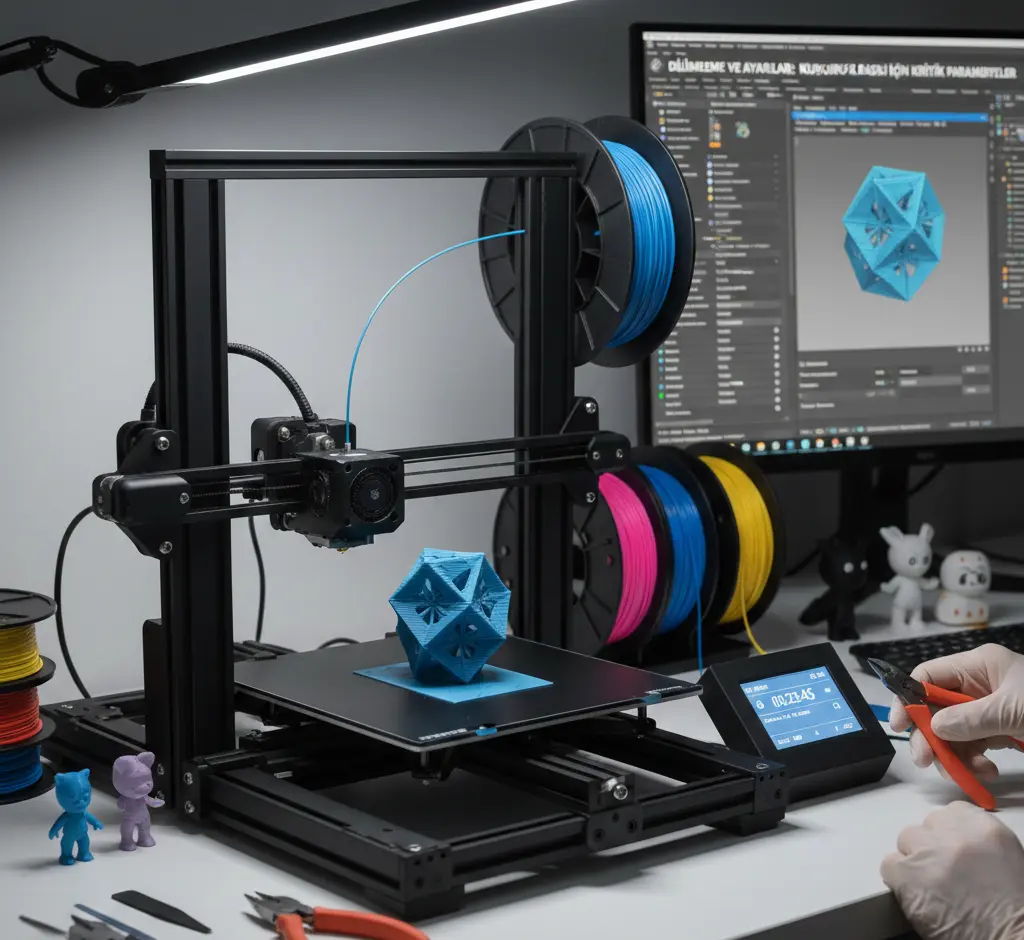
Part 2: Slicing Software and Critical Settings: Mastering the Digital Blueprint
Once you have your 3D model, the real magic happens in the “Slicer.” In 2026, while software like Cura, PrusaSlicer, or OrcaSlicer has become incredibly intuitive, understanding the core parameters is what separates a failed mess from a professional-grade part. When considering how to use a 3d printer effectively, mastering these four settings is your top priority.
1. Layer Height (Resolution)
Think of layer height as the “resolution” of your physical object. It is the thickness of each horizontal slice.
- Fine (0.1mm – 0.12mm): Perfect for miniatures and high-detail art. The layers are almost invisible, but the print time will be significantly longer.
- Standard (0.2mm): The “sweet spot” for most prints. It offers a great balance between speed and surface quality.
- Draft (0.28mm+): Ideal for large, functional parts where looks don’t matter as much as speed and strength.
2. Infill and Wall Thickness
A 3D print is rarely solid. It uses an internal pattern to save time and material.
- Infill Percentage: 10-15% is standard for decorative items. For mechanical parts that need to hold weight, go for 40% or higher.
- Wall Count: This determines the thickness of the “skin” of your object. Often, increasing the number of walls (perimeters) makes a part stronger than simply increasing the infill.
3. Printing Temperatures
Temperature is the most critical variable for successful material bonding.
- Nozzle Temperature: If it’s too cold, the layers won’t stick; if it’s too hot, you’ll get “stringing” (fine plastic hairs). PLA usually prints best at 200°C-220°C, while PETG requires 230°C-250°C.
- Bed Temperature: This keeps the plastic from warping or shrinking. A warm bed (typically 60°C for PLA) ensures the first layer stays glued to the surface throughout the print.
4. Print Speed
Modern 2026 printers are incredibly fast, but speed is often the enemy of detail. For the best visual results, it is a pro tip to slow down your “Outer Wall” speed. This gives the plastic time to cool and settle perfectly, preventing “ghosting” or vibration marks on the surface.
Part 3: Troubleshooting and Maintenance: Solving Common Printing Issues
Even with perfect settings, 3D printing involves physics, and sometimes things don’t go as planned. In 2026, printers are smarter, but being a successful maker still requires the ability to diagnose “why a print failed.” To truly master how to use a 3d printer, you must be able to solve these four common issues.
1. Bed Adhesion and Warping
Warping happens when the corners of your print lift and curl away from the bed.
- The Cause: Plastic shrinks as it cools. If the first layer doesn’t grip the bed tight enough, or if there is a cold draft in the room, the tension pulls the corners up.
- The Fix: Clean your print bed with isopropyl alcohol to remove finger oils. You can also use a “Brim” in your slicer settings to add extra surface area to the base of your model.
2. Nozzle Clogging
If your printer is moving but no plastic is coming out, or if the lines look thin and “underextruded,” you likely have a clog.
- The Cause: Dust on the filament, burnt plastic inside the nozzle, or switching between materials with different melting points (like going from PETG to PLA).
- The Fix: Most 2026 printers have a “Cold Pull” or “Atomic Pull” maintenance routine. If that fails, heating the nozzle and using a very thin cleaning needle can often clear the path.
3. Stringing and Oozing
Stringing looks like fine, hairy “cobwebs” left between different parts of your print.
- The Cause: Plastic continues to leak out of the nozzle while the printer is moving between two points.
- The Fix: Increase your Retraction settings in the slicer. This tells the printer to pull the filament back slightly before it moves, creating a “vacuum” that stops the oozing.
4. Layer Shifting
This occurs when the printer suddenly starts printing a few millimeters to the side, creating a “staircase” effect.
- The Cause: Usually a mechanical issue—either a belt is too loose, or the nozzle hit a part of the print that curled up, causing the motor to skip a step.
- The Fix: Check your belt tension; they should be tight like a guitar string but not overstretched. Also, ensure your printer is on a stable, vibration-free surface.
Regular maintenance, such as lubricating the rails and checking for loose screws, will prevent 90% of these problems before they even start.
Part 4: Post-Processing and Final Results: Creating a Professional Finish
When the printer head finishes its final move and your object is sitting on the bed, you are holding a “raw” print. In 2026, while print quality has reached incredible heights, the “post-processing” stage is what separates a hobbyist project from a professional product. To fully complete your journey of how to use a 3d printer, you need to know how to clean and finish your models.
1. Removing Supports
If your model has overhanging parts, it was likely printed with “supports.”
- The Technique: Use a pair of flush cutters or needle-nose pliers to gently snap the support structures away. In 2026, “Organic” or “Tree” supports are common, which are much easier to remove and leave fewer marks on the surface.
2. Sanding for a Smooth Surface
If you want to get rid of visible layer lines, sanding is the most effective method.
- Pro Tip: Always use “Wet Sanding.” Friction from dry sanding can create enough heat to melt the plastic, ruining the detail. Start with 200-grit sandpaper for rough spots and move up to 1000-grit for a glass-smooth finish.
3. Priming and Painting
A raw plastic look isn’t always desired.
- Priming: Use a filler primer designed for plastics. It fills in any remaining tiny gaps between layers and gives the paint a surface to bond to.
- Painting: Acrylic paints work best for 3D prints. For large areas, spray cans give a more even coat, while fine brushes are perfect for adding detail to characters or mechanical models.
4. Chemical Smoothing (Advanced)
Some materials, like ABS or ASA, can be smoothed using acetone vapors. This process melts the outer skin of the plastic slightly, resulting in a glossy, injection-molded look. However, be careful—this does not work on PLA or PETG, and it requires a well-ventilated area.
Final Summary: The Maker’s Journey
Mastering a 3D printer is a mix of digital skill, mechanical understanding, and artistic patience. Every failed print is a lesson, and every successful one is a step toward total creative freedom. In the world of 2026, the only limit to what you can create is your imagination.