

Part 1: Structural Engineering – Mastering Frame Rigidity and Motion Dynamics
Building your own 3D printer is not merely an assembly of parts; it is an exercise in structural engineering. When you decide to move away from pre-built consumer machines, you are stepping into a realm where every micron counts. The primary goal of a high-end DIY build is to achieve “Zero-Flex” and “Zero-Vibration.” In the world of 3D printing, your nozzle is an effector moving at high velocities, and your frame is the dampening system. If the frame is weak, the kinetic energy of the moving parts will manifest as “ghosting,” “ringing,” and poor dimensional accuracy.
The Science of Frame Selection: Sigma Extrusions and Torsional Rigidity
The foundation of any serious DIY 3D printer is the aluminum extrusion. While the 2020 (20mm x 20mm) profile is common, professional builds (like the Voron 2.4 or RatRig) often utilize 2040 or 3030 profiles for the base and vertical pillars to increase torsional rigidity. The secret to a professional frame isn’t just the thickness of the aluminum; it’s the connection method. Most beginners use external L-brackets or T-plates. However, to achieve industrial-grade stability, you should utilize blind joints. This involves drilling a hole through one extrusion and tapping the center hole of the joining extrusion. This creates a metal-on-metal bond that resists twisting far better than any external bracket.
Furthermore, you must consider the Squaring Process. A frame that is out of square by even 0.5mm will cause “racking” in the X and Y axes. This means your printer will produce parallelograms instead of squares. To prevent this, you should assemble your frame on a known flat surface (like a granite slab or a thick glass pane) and use a machinist’s square at every junction.
Choosing Your Kinematics: Cartesian vs. CoreXY vs. H-Bot
The architecture of movement—kinematics—dictates the speed and quality potential of your machine.
- Cartesian (Bed-Slingers): These are the easiest to build but have a physical “speed ceiling.” Because the heavy heated bed moves along the Y-axis, the momentum (mass x velocity) causes significant vibrations at high speeds. If you build a Cartesian printer, you are limited by the weight of your bed.
- CoreXY: This is the gold standard for high-performance DIY builds. In a CoreXY system, two long belts and two stationary motors work in tandem to move the X and Y axes. Since the motors are mounted to the frame and not the gantry, the moving mass is incredibly low. This allows for accelerations exceeding 10,000 $mm/s^2$ without sacrificing quality. The complexity lies in the belt routing; the belts must be perfectly parallel, or you will encounter “non-linear” movement errors.
Linear Motion: Linear Rails vs. V-Wheels vs. Smooth Rods
How your axes slide is the final piece of the mechanical puzzle.
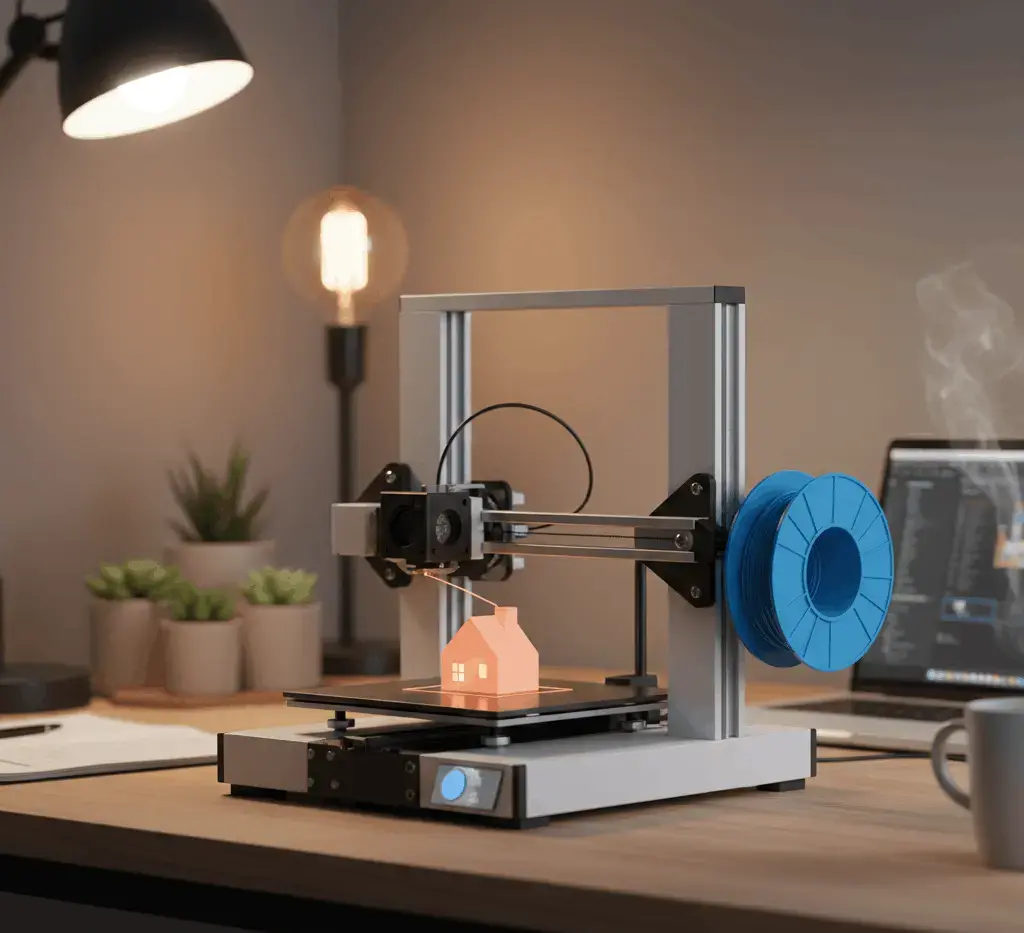
- V-Slot Wheels: These are affordable and quiet, but they are made of Polycarbonate or Delrin, which wears down. They also require constant adjustment of eccentric nuts to maintain the right “pinch” on the profile.
- Smooth Rods (LM8UU): Common in Prusa-style builds. They are reliable but can sag over long distances (e.g., a 300mm X-axis).
- Linear Rails (MGN9H / MGN12H): If your budget allows, linear rails are non-negotiable. They offer the highest load capacity and zero play. However, not all rails are equal. Cheap “no-name” rails often come with grit in the bearings. For a pea3d.com-grade build, you must clean these rails in an isopropyl alcohol bath and relubricate them with high-quality synthetic grease (like Mobilux EP2) to ensure buttery-smooth movement.
By the end of Part 1, your frame should be a rock-solid, perfectly square cage, ready to house the precision components that will follow.
Part 2: The Nervous System – Controller Logic, Motion Control, and Power Engineering
With a rock-solid mechanical frame in place, we now transition to the “nervous system” of the 3D printer. In this stage, you will select and integrate the electronics that convert digital G-code into high-precision electrical pulses. A common failure point in DIY builds is poor electronic component selection, leading to overheating, missed steps, or even fire hazards. To build a machine worthy of a professional workshop, we must focus on processing power, stepper driver technology, and robust power delivery.
Processing Power: The Shift to 32-Bit Ecosystems
The era of 8-bit microcontrollers (like the ATmega2560) is officially over for high-performance machines. As print speeds increase and features like “Input Shaping” and “Pressure Advance” become standard, the “brain” of your printer requires more clock cycles. A 32-bit ARM Cortex-M4 or M7 controller board (such as the BigTreeTech Kraken, Octopus, or Duet 3) is essential. These boards offer higher step rates, which are crucial for smooth movements at high speeds. When the processor can’t keep up with the movement commands, you get “stuttering” on curved surfaces, known as buffer underrun. A 32-bit board ensures that your machine can handle complex geometries without breaking a sweat.
Stepper Drivers: The Silent Revolution (TMC Technology)
The muscles of your printer are the NEMA 17 motors, but their “intelligence” comes from the stepper drivers. For a modern build, Trinamic (TMC) drivers are the only logical choice. Specifically, the TMC2209 or TMC5160 drivers provide features that were unthinkable a decade ago:
- StealthChop2: This technology uses advanced algorithms to make the motor movement nearly silent by smoothing out the current waves.
- SpreadCycle: For high-speed printing where torque is prioritized over silence, this mode ensures the motors don’t skip steps during aggressive accelerations.
- Sensorless Homing (StallGuard): This allows the driver to detect the slight increase in load when an axis hits the end of its travel, eliminating the need for mechanical endstop switches and simplifying your wiring harness.
Power Delivery: 24V Systems and Safety Protocols
The decision between a 12V and a 24V system is a fundamental one. For any DIY build in 2026, 24V is the gold standard. Why? Because $P = V \times I$ (Power = Voltage x Current). At 24V, you can deliver the same amount of power with half the current of a 12V system. This means your wires run cooler, your motors have more “torque headroom” at high speeds, and your heated bed reaches target temperatures significantly faster.
When selecting a Power Supply Unit (PSU), do not compromise. A generic PSU may have “dirty” power with high ripple voltage, which can crash your controller board. A MeanWell LRS-350-24 is the industry favorite for a reason: it is reliable, efficient, and has built-in protections. For safety, every high-current connection (Heated Bed and Hotend) must be terminated with crimped ferrules. Bare stranded wires in screw terminals can loosen over time, leading to resistance, heat, and eventually, fire.
Extrusion and Thermal Systems
Finally, we must consider the business end of the electronics: the heater and thermistor. A high-flow hotend (like the Revo or Dragonfly) requires a high-wattage heater cartridge (50W-60W). To control this, you need a high-quality thermistor (typically a 104NT or a PT1000 for high-temp printing) that can accurately report temperatures up to 300°C. If you plan to print engineering materials like Nylon or Carbon Fiber, ensure your electronics can handle an All-Metal Hotend and that your firmware is configured with “Thermal Runaway Protection”—a fail-safe that shuts down the printer if it detects a heating anomaly.
Part 3: The Intelligence – Firmware Architecture, Precision Calibration, and Output Optimization
You have successfully constructed a rigid mechanical frame and wired a sophisticated electronic nervous system. However, without the right “brain” to coordinate these components, your 3D printer is merely an expensive collection of aluminum and copper. In this final phase, we focus on the firmware—the low-level software that resides on your controller board—and the rigorous calibration protocols required to transform a DIY project into a high-precision manufacturing tool.
1. Choosing the “Brain”: Marlin vs. Klipper
The first decision in the software phase is selecting your firmware ecosystem. This choice defines your user experience and the speed limits of your machine.
- Marlin Firmware: The veteran of the industry. Marlin is a standalone firmware that runs entirely on your 32-bit MCU. It is incredibly stable and features a massive library of documentation. It is ideal for those who want a reliable, “set-it-and-forget-it” machine. However, making configuration changes requires you to recompile the code and re-flash the board every time.
- Klipper Firmware: The modern choice for performance enthusiasts. Klipper offloads the heavy mathematical calculations (kinematics) to a secondary, more powerful computer (like a Raspberry Pi) while using the printer’s mainboard only for executing micro-commands. This allows for advanced features like Input Shaping—an algorithm that predicts and cancels out mechanical resonances, allowing for print speeds of 200-500 $mm/s$ without the “ghosting” effects that plague slower machines.
2. Core Firmware Configuration: Defining the Physical Reality
Once you have chosen your firmware, you must “teach” it the physical dimensions and limits of your machine. This is done in the configuration files (Configuration.h for Marlin or printer.cfg for Klipper).
- Steps per Unit (Step/mm): This is the most fundamental calculation. Based on your motor’s step angle ($0.9°$ or $1.8°$), your microstepping ($16$ or $32$), and your belt/lead screw pitch, you must tell the printer exactly how many electrical pulses equal 1mm of movement. An error of $1\%$ here means a $100mm$ part will never fit its intended assembly.
- Thermistors and Safety: You must define exactly which temperature sensors you installed in Part 2. Setting the wrong thermistor type can lead to a $20°C-50°C$ discrepancy, which is a significant fire hazard. Always enable Thermal Runaway Protection; this is a software watchdog that monitors if the heater is responding to commands. If a wire breaks or a sensor falls out, the firmware will instantly kill all power.
3. Critical Calibration: PID Tuning and E-Steps
Before you load your first roll of filament, you must perform two “Gold Standard” calibrations:
- PID Tuning: The hotend and heated bed do not just turn “on” and “off.” They use Proportional-Integral-Derivative (PID) control to hover at a specific temperature. By running a PID Autotune, the firmware learns the thermal mass of your heaters. A well-tuned PID will stay within $±0.1°C$, preventing the “banding” on walls caused by the thermal expansion and contraction of the plastic.
- Extruder E-Steps: If you command $100mm$ of filament, does the motor push exactly $100mm$? Most factory settings are off by $3-5\%$. By measuring the filament before and after it enters the extruder, you can calculate the exact multiplier needed. This is the difference between a part with holes (under-extrusion) and a part that is blobby and oversized (over-extrusion).
4. The “First Layer” Mastery: Z-Offset and ABL
The success of a 3D print is $90\%$ determined by the first $0.2mm$. This is where the nozzle meets the build plate.
- Z-Offset: This is the digital distance between your Z-probe (like a BLTouch or Inductive sensor) and the actual tip of the nozzle.
- Bed Leveling: No bed is perfectly flat. Using Auto Bed Leveling (ABL), the printer creates a 3D mesh map of the bed’s surface. During the print, the Z-axis motors move up and down in micro-increments to follow the “hills and valleys” of your build plate, ensuring a perfect “squish” across the entire surface.
5. Mechanical Resonance and Input Shaping
If you opted for Klipper, your final step is tuning for vibration. Using an accelerometer (ADXL345) temporarily mounted to the print head, you can measure the “ringing” frequency of your frame. Klipper then applies a mathematical filter to the motor signals to “anti-vibrate” the machine. This is how a DIY printer can outperform a commercial machine costing five times as much.
Häufig gestellte Fragen (FAQ) – Schema
1. How long does it take to calibrate a DIY 3D printer?
Initial calibration usually takes 3 to 5 hours. However, fine-tuning for specific materials (like TPU or ABS) is an ongoing process that improves over time.
2. Can I switch from Marlin to Klipper later?
Yes. Since both are software-based, you can re-flash your board at any time, provided you have a Raspberry Pi or a similar host computer for Klipper.
3. Why is my first layer not sticking even after leveling?
This is usually a Z-offset issue or a dirty build plate. Ensure your bed is cleaned with $99\%$ Isopropyl Alcohol to remove finger oils.