Creality troubleshooting, Creality has solidified its position as the world’s most versatile 3D printing brand, successfully merging DIY flexibility with the high-speed performance of the Klipper-based Creality OS. However, the mechanical openness of Creality machines means they require more precise oversight than closed-loop systems. Whether you are managing a professional print farm or developing custom engineering prototypes, minimizing downtime is the only way to remain profitable.
This encyclopedia serves as a deep-dive technical resource for diagnosing Creality error codes, optimizing Creality Print profiles, and solving chronic mechanical issues at a microscopic level to ensure your production on pea3d.com remains flawless.
Decoding Creality OS and Klipper-Based Error Codes
The transition to Klipper-based firmware in the K1 and Ender 3 V3 series has introduced a new generation of “Key” codes. Understanding these digital signals is the first step in advanced troubleshooting.
1. Thermal Management Failures: Key 2000, 2001, 2008
These codes represent the printer’s primary safety protocol. If the system detects an inconsistency in heat-up time or a sudden temperature drop, it triggers an emergency shutdown to prevent fire hazards.
- Technical Root Causes: A failing ceramic heater, a fractured thermistor wire, or a loose JST connector on the toolhead PCB.
- Professional Solutions:
- Heater Inspection: On the K1 series, the 360° ceramic heaters are high-performance but fragile. Inspect the ring for micro-cracks. Use a multimeter to check resistance; an “Open Loop” reading confirms a dead heater.
- PID Tuning: You MUST perform PID Calibration after any hotend part replacement or significant environmental temperature change. This stabilizes fluctuations to within $\pm0.1^\circ$C, preventing “Thermal Runaway” triggers.
2. Levelling and Sensor Failures: Key 2507, 2509 (ABL Fail)
These occur when the Auto Bed Leveling (ABL) system—CR-Touch or Strain Gauges—fails to register a trigger point.
- Technical Root Causes: A bent sensor pin, debris inside the load cells, or a damaged ribbon cable.
- Professional Solutions:
- Load Cell Debris: For K1 Max users, ensure the four pressure sensors under the heatbed are free of plastic debris. Even a tiny filament fragment can throw off the pressure sensitivity.
- Z-Offset Optimization: If the sensor triggers but the nozzle is too high, manually tune the Z-Offset in $-0.01$ mm increments during the first layer print.
Chronic Mechanical Issues: The pea3d Troubleshooting Dictionary
Creality printers primarily use V-Slot wheels and lead screw systems. While affordable, these components require constant mechanical “tuning” to prevent print defects.
Z-Wobble and Z-Banding (Periodic Layer Defects)
If your prints show repeating horizontal lines, you are likely suffering from Z-Wobble.
- The Cause: A bent lead screw or an unaligned Z-axis stepper motor.
- Professional Solutions:
- Lead Screw Straightening: Remove the screw, clean off old grease with Isopropyl Alcohol, and roll it on a flat glass surface to check for bends.
- Oldham Couplers: In 2026, upgrading to Oldham couplers is the standard for Ender users. They allow the lead screw to move slightly in the X/Y plane without transferring that movement to the print.
- The “Loose Nut” Strategy: Keep the screws on the brass lead screw nut slightly loose (half a turn). This allows the nut to self-align with the screw’s imperfections.
V-Slot Wheel Maintenance and Adjustment
The Ender 3 series moves on polymer wheels. These are consumables that degrade over time.
- Symptoms: If the print head wobbles or if you see white “dust” (polymer shavings) on the aluminum extrusions.
- Professional Solution: Use the Eccentric Nut to adjust the tension. It should be tight enough to eliminate play but loose enough that you can still rotate the wheel with your finger while holding the carriage still.
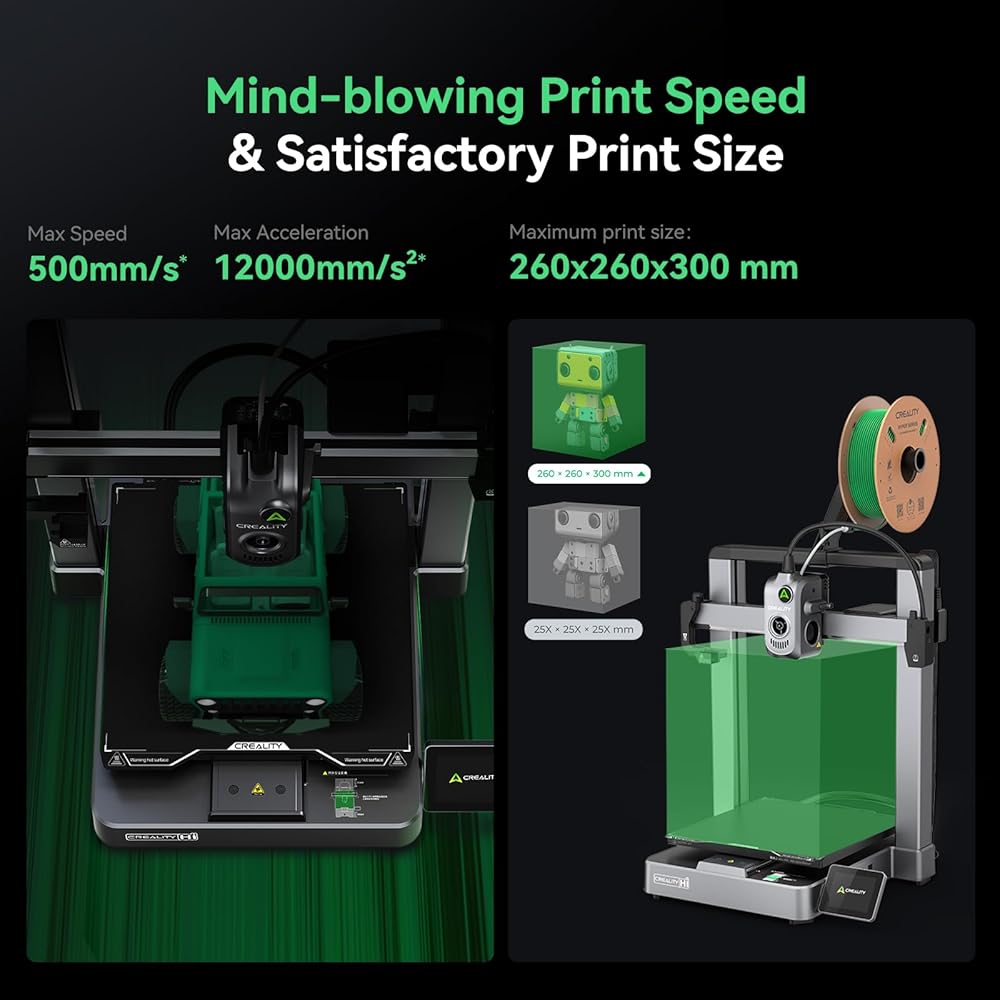
The K1 Series Special: Mastering High-Speed Production
The K1 series can reach speeds of 600 mm/s. At these velocities, resonance and “Heat Creep” are your primary enemies.
Input Shaping and Ghosting
Ringing (ghosting) appears as faint “echoes” on vertical surfaces. It is caused by the inertia of the toolhead at high speeds.
- The Solution: The K1 has a built-in accelerometer. Run the “Self-Test” menu for Input Shaping every 200 print hours or whenever you relocate the printer. This measures the machine’s resonance and cancels it out via software.
Extruder V1 vs. V2 and Heat Creep
Early K1 units had issues with the extruder gears slipping during high-speed retractions.
- Expert Tip: Ensure you have the “V2” extruder (polished gears). For PLA printing, always remove or prop open the top lid. The enclosure traps too much heat for low-temperature filaments, causing them to soften inside the extruder (Heat Creep) and jam.
Creality “Golden Settings” Database 2026
When generating quotes using the pea3d.com Cost Calculator, use these baseline parameters:
| Model Series | Max Safe Speed | PLA Temp | Retraction (Dist/Speed) |
| Ender 3 (Legacy) | 60 mm/s | 200°C | 5.0 mm / 45 mm/s |
| Ender 3 V3 KE/SE | 300 mm/s | 215°C | 0.8 mm / 40 mm/s |
| K1 / K1 Max | 500 mm/s | 225°C | 0.5 mm / 35 mm/s |
| Halot (Resin) | 2s Exposure | N/A | N/A |
Advanced Maintenance: The pea3d Checklist for Longevity
To transform a Creality printer into a reliable “money-making machine,” follow this strict maintenance schedule used in professional print farms.
- Lubrication: For K1 rods and Z-axis lead screws, clean every 200 hours and apply a thin layer of synthetic PTFE grease.
- Nozzle Hygiene: Brass nozzles are cheap. If you see inconsistent flow or pitting on the surface, replace the nozzle immediately. For abrasive filaments (CF-PLA, Wood), always use Hardened Steel.
- Belt Tensioning: Belts stretch over time. Tighten them until they produce a low “thrum” when plucked, but avoid over-tightening which can damage motor bearings.
- Mainboard Cooling: Creality mainboard fans attract dust. If the fan fails, stepper drivers will overheat, causing “Layer Shifting.” Clean intakes monthly with compressed air.
Profitability and Business Optimization
In a professional print farm, efficiency is your primary metric. Creality’s low entry cost is an advantage, but only if managed correctly.
- Energy Savings: Creality heatbeds are often uninsulated. Applying a thermal insulation mat to the bottom of the bed reduces electricity consumption by up to 20%. In the pea3d.com Cost Calculator, this translates directly into higher margins.
- Slicing Efficiency: Use Tree Supports to reduce material waste by up to 40%. This not only saves filament but significantly reduces post-processing labor.
- Speed Premium: An Ender 3 might take 24 hours for a part that a K1 Max finishes in 4. When pricing, charge a “Speed Premium” for the high-end machines. Our tools help you differentiate these costs to offer the most profitable quotes.
Frequently Asked Questions (FAQ)
Q: My Creality printer is beeping loudly and stopped. What happened?
A: This is usually a “Thermal Runaway” error. Your thermistor might be loose or failing. Shut off the printer immediately; this is a fire hazard.
Q: Why is my first layer peeling off the bed?
A: Wash the plate with warm water and dish soap (alcohol isn’t always enough). Then, tune your Z-Offset. The first layer should be “squished” onto the plate, not just dropped.
Q: Is it worth upgrading to Klipper (Sonic Pad)?
A: For older Ender models, yes. Klipper allows for “Pressure Advance” and “Input Shaping,” which can double your usable print speed while improving quality.
Conclusion: Mastering the Creality Ecosystem
Creality printers are the “Swiss Army Knives” of 3D printing—versatile, modifiable, and capable of professional-grade results when tuned correctly. Whether you are printing premium automotive accessories or engineering prototypes, mastering these mechanical and digital nuances is what sets a professional apart from a hobbyist.
Always leverage the technical steps in this guide to diagnose issues before they become costly failures. For accurate quoting and production management, use the tools at pea3d.com to ensure your 3D printing business remains profitable and competitive in 2026.