

How to Convert Photo to 3D Model: A Complete Free Guide
The bridge between 2D imagery and 3D physical reality has never been shorter. Today, converting a photo to a 3D model is no longer reserved for high-end movie studios or industrial engineers. Thanks to the rapid advancement of Artificial Intelligence (AI) and Photogrammetry, anyone with a smartphone and an internet connection can transform a simple JPEG into a fully realized 3D mesh.
Whether you are looking to create a personalized gift for a 3D printer, develop assets for a video game, or preserve a historical artifact digitally, this guide will walk you through the best free tools and professional techniques available in 2026.
Understanding the Magic: From Pixels to Polygons
At its core, the process of turning a picture into a 3D object involves complex algorithms that calculate depth, light orientation, and perspective. This is achieved through two main methods:
- Photogrammetry: Taking multiple photos from different angles and “stitching” them together.
- AI Reconstruction: Using Neural Radiance Fields (NeRF) or Generative AI to “guess” the unseen parts of an object from just one or two photos.
For most hobbyists, the AI-driven approach is becoming the preferred method because it requires significantly less manual labor and specialized hardware.
Why Should You Convert Your Photos to 3D?
The applications are endless, but here are the most common reasons why users are searching for image-to-3D solutions:
- 3D Printing & Lithophanes: Creating “light-pictures” that reveal an image when illuminated from behind.
- E-commerce: Creating 3D previews of products for online stores.
- Virtual Reality (VR) & Metaverse: Creating digital avatars or personal belongings for virtual spaces.
- Memories: Turning a 2D wedding photo or a pet’s picture into a tangible desk sculpture.
In the following sections, we will dive deep into the specific tools—including some hidden gems from the Chinese AI market—that offer professional-grade results for zero cost.
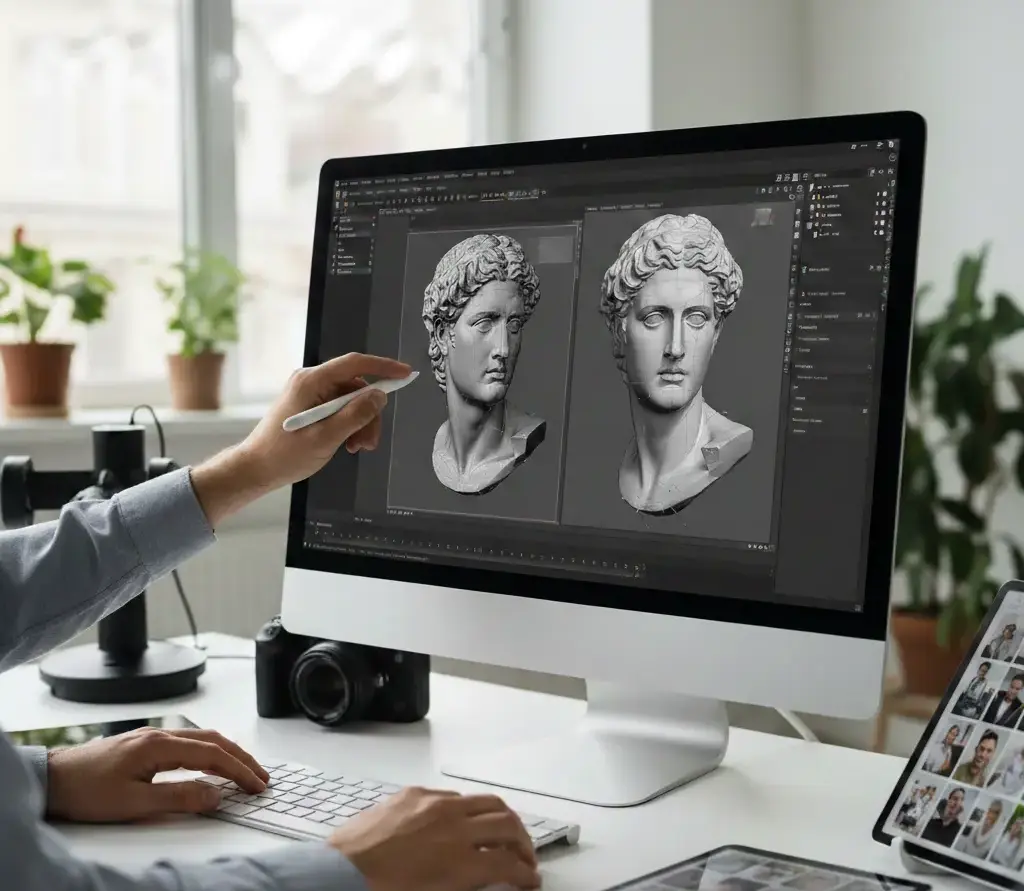
Best Free AI Tools to Convert Photos to 3D Models
The market is currently flooded with AI tools, but only a few offer a truly “free” tier with high-quality mesh exports. Here are the top contenders you should use today:
1. Hyperhuman Rodin (The Powerful Chinese AI Tool)
When it comes to speed and sheer reconstruction quality, the Chinese-developed Rodin by Deemos (Hyperhuman) has taken the industry by storm. It uses a massive neural network to generate highly detailed 3D models from just one or more images. It is particularly famous for its “Chat-to-3D” and “Image-to-3D” capabilities.
- Best For: Realistic objects, characters, and high-quality textures.
- Website: https://www.hyperhuman.top/
2. Luma AI (Genie & NeRF)
Luma AI is one of the leaders in “Neural Radiance Fields.” Their tool, Genie, allows you to upload photos and receive a high-fidelity 3D model in minutes. It excels at capturing lighting and complex shapes that traditional software might miss.
- Best For: Real-world environments and complex objects.
- Website: https://lumalabs.ai/
3. Meshy AI
Meshy is an incredible all-in-one 3D AI toolbox. It allows you to turn text or images into 3D textures and meshes. Their “Image to 3D” feature is particularly robust for game developers who need stylized or realistic assets quickly.
- Best For: Game assets and texturing.
- Website: https://www.meshy.ai/
4. CSM.ai (Common Sense Machines)
CSM is widely used for creating “digital twins” from images. It provides a clean workflow to turn a single image into a 3D model that can be exported for 3D printing or animation.
- Best For: Creating clean, printable 3D meshes.
- Website: https://csm.ai/
Step-by-Step Guide: Using Hyperhuman Rodin for Best Results
Since Rodin is currently one of the most popular free-to-start tools from the Chinese market, here is how to maximize your results:
Step 1: Image Selection
To get a professional-grade 3D model, your starting photo must be clear. AI works best when the object is centered and the background is not too cluttered. If you have multiple angles of the same object, upload all of them to help the AI understand the “hidden” sides.
Step 2: Generation Process
Once you upload your image to the Hyperhuman dashboard, the AI begins the “Inference” phase. This usually takes between 30 seconds to 2 minutes. The AI creates a “Point Cloud” first, then wraps it in a “Polygon Mesh.”
Step 3: Refinement
Most of these tools offer a “Refine” button. This uses more credits/processing power to add intricate details to the surface of the model, making it look less like a blob and more like a professional scan.
Step 4: Exporting for 3D Printing
After the model is generated, you will need to download it. For 3D printing, look for the STL or OBJ download options. If you are using it for a website or game, GLB or FBX are the industry standards.
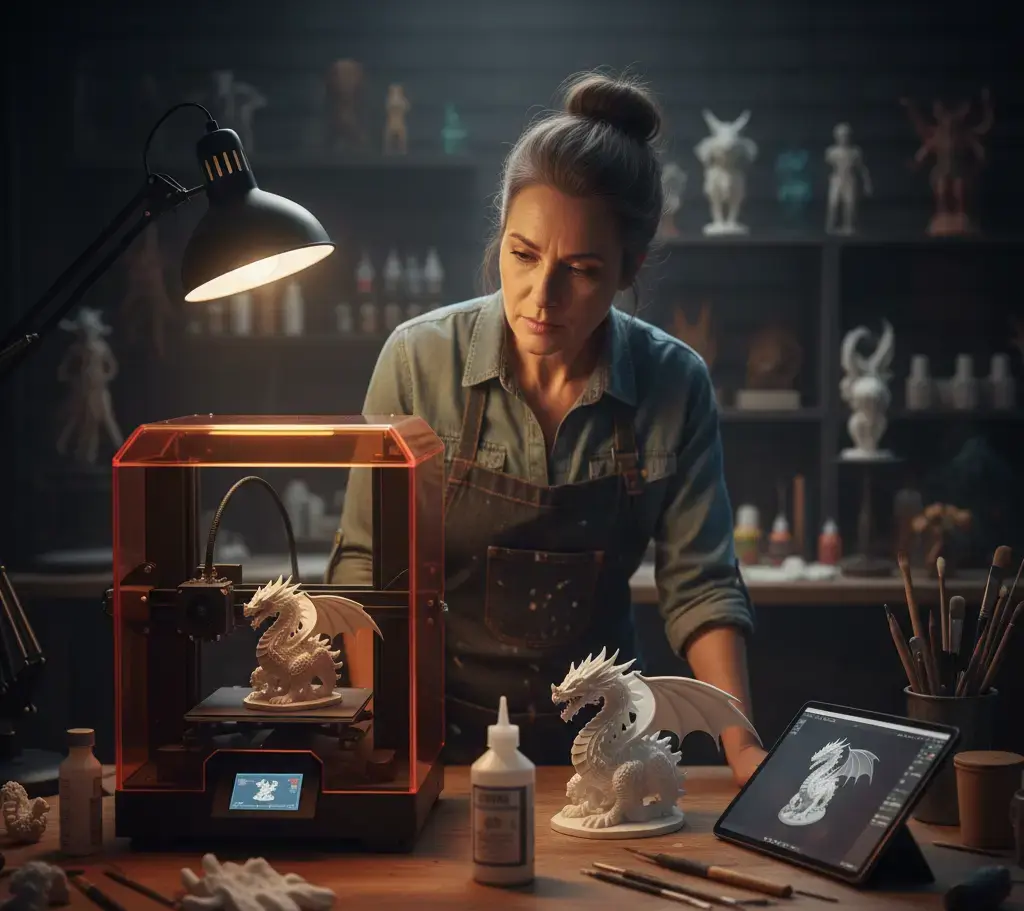
Mastering the Technical Side: Optimization and Cleanup
Getting a raw file from an AI tool like Rodin or Luma AI is just the first half of the journey. To make your photo to 3D model truly professional, you often need to “clean” the mesh. AI models can sometimes produce “noise” or stray polygons that don’t belong to the object.
Essential Cleanup Tools (Free)
- Blender: The industry-standard open-source 3D software. Use the “Sculpt Mode” to smooth out rough edges or the “Decimate” modifier to reduce the file size without losing detail.
- MeshMixer: A fantastic free tool by Autodesk specifically designed for 3D printing. It is perfect for making your models “watertight” (ensuring there are no holes in the mesh).
Photogrammetry: When You Need 100% Accuracy
While AI tools are fast, Photogrammetry remains the king of precision. If you are trying to replicate a museum artifact or a high-detail car part, you should use the multi-photo stitching method.
The Best Free Photogrammetry Software: Meshroom
Meshroom is a free, open-source 3D reconstruction software based on the AliceVision framework. Unlike AI tools that guess the shape, Meshroom uses pure math and triangulation.
- The Process: You take 50–100 photos of an object from every possible angle.
- The Benefit: You get a 1:1 scale replica with the exact textures of the original object.
- Link: https://alicevision.org/#meshroom
Professional Photography Tips for 3D Scanning
To ensure the software doesn’t fail during the “stitching” process, follow these rules:
- Avoid Reflections: Shiny surfaces (like a glass bottle) are a nightmare for 3D scanners. Use a matte spray or choose a cloudy day for outdoor scans to avoid harsh glints.
- Depth of Field: Ensure the entire object is in focus. A blurred background is fine, but a blurred part of the object will cause a “hole” in your 3D model.
- Fixed Focal Length: Do not zoom in or out between photos. This changes the perspective math and can break the reconstruction.
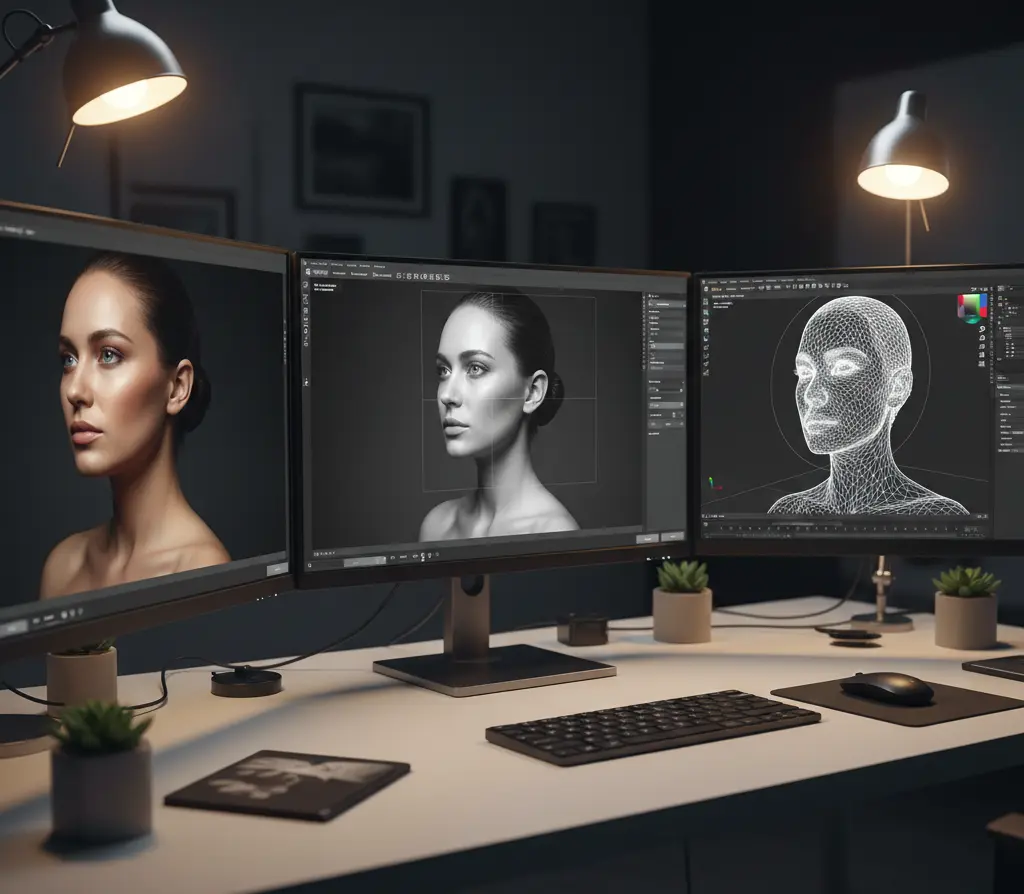
Preparing Your Model for the Real World
Once you have converted your image to 3D, you need to choose your output based on your final goal:
For 3D Printing (The Maker Scene)
If you intend to print your model, you must ensure it has a “Flat Base.” Use a tool like Tinkercad (tinkercad.com) to quickly cut the bottom of your model so it sits perfectly on the printer bed. Also, check the wall thickness; if the walls are too thin, the 3D printer won’t be able to extrude them.
For Web and AR (Augmented Reality)
If you want to show your 3D model on a website (like pea3d.com), you should export it as a GLB or USDZ file. These formats are highly compressed and allow users to view the object in 3D right from their mobile browser or even “place” it in their room using AR.
Frequently Asked Questions (FAQ)
Can I convert a 2D photo to a 3D model for free?
Yes. Tools like Hyperhuman Rodin, Luma AI, and Meshroom offer powerful free tiers that allow you to generate and export 3D models without any cost.
What is the best file format for 3D printing?
For 3D printing, the STL format is the standard. However, if you want to keep the color data from your photo, you should use the OBJ format.
Does a single photo work as well as multiple photos?
While modern AI can “guess” the back of an object from a single photo, using multiple photos (3–5 angles) will always result in a more accurate and symmetrical 3D model.
Is there a limit to how large the object can be?
Technically, no. You can convert a photo of a small coin or a large building into a 3D model. The only limit is the resolution of your camera and the processing power of the AI tool.
Can I use these 3D models in games like Roblox or Unity?
Absolutely. Most AI tools allow you to export in FBX or GLB formats, which are natively supported by game engines like Unity, Unreal Engine, and Roblox Studio.
Final Thoughts: The Future of 3D Creation
The ability to convert a photo to a 3D model has democratized the world of design. What used to take days of manual sculpting can now be achieved in minutes using the power of the cloud and advanced AI. By utilizing the free tools mentioned in this guide—from the high-speed efficiency of Rodin to the precision of Meshroom—you are ready to start your journey into the third dimension.
Start experimenting today, and turn your digital gallery into a physical reality!