

Text-to-3D Revolution for Makers and Meshy AI Deep Dive
The 3D printing landscape is undergoing a massive shift. While traditional CAD design requires months of learning, 2026’s Generative AI allows makers to create complex geometries simply by describing them. At pea3d.com, we are exploring how 3D printer owners can leverage these tools to bypass the steep learning curve of software like Fusion 360 or Blender. The “Text-to-3D” era means if you can imagine it and write it, you can print it.
Why AI is a Must-Have Tool for 3D Printer Owners
For many enthusiasts, the biggest bottleneck isn’t the printer itself, but the lack of 3D models. AI tools now act as a “Co-pilot” for makers. Instead of searching hours on Thingiverse or Printables for a specific model that might not exist, you can now use AI to generate unique, custom-made STL files. This is particularly useful for:
- Creating unique tabletop miniatures.
- Designing custom decorative items.
- Rapid prototyping of organic shapes that are difficult to model manually.
1. Meshy AI: The Industry Leader in Prompt-to-Print
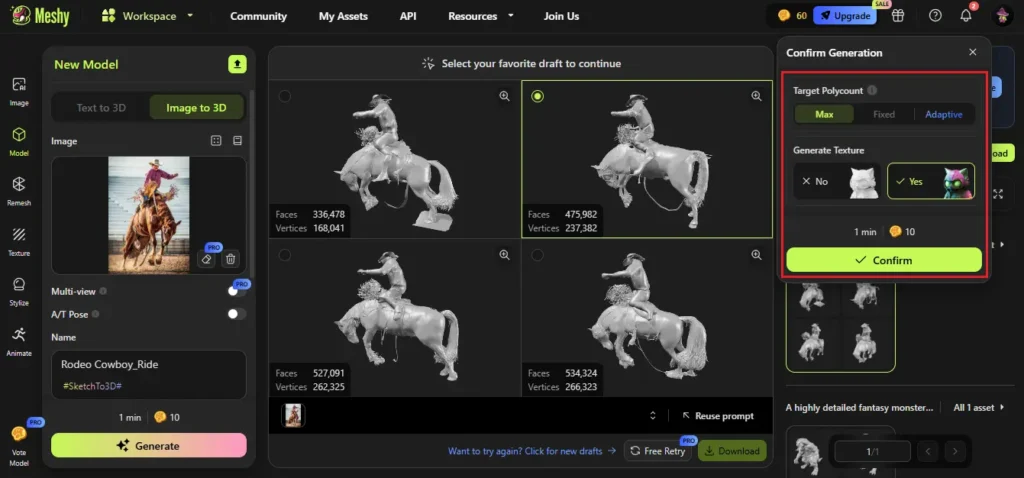
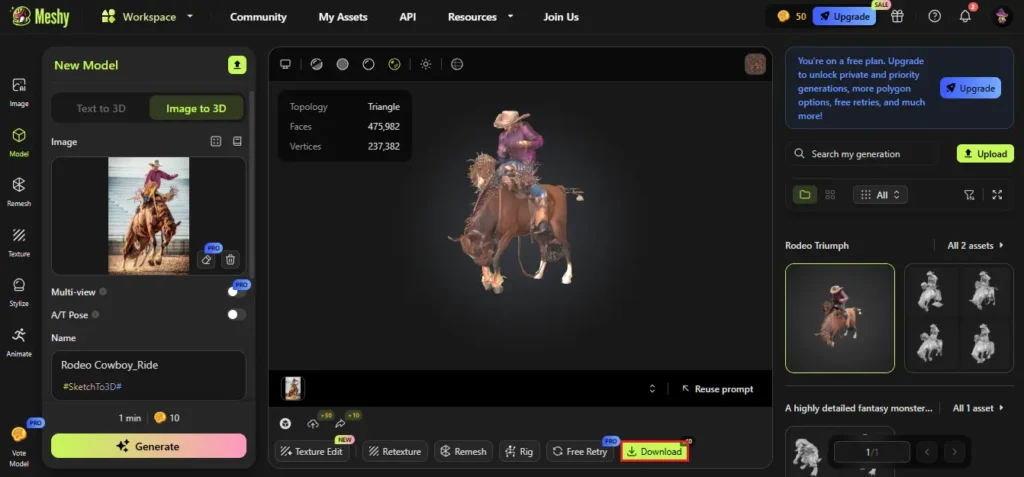
Meshy AI has established itself as the most reliable platform for 3D printer users who want to turn text prompts or images into high-quality meshes. Unlike older AI models that produced “messy” geometry, Meshy’s 2026 algorithms focus on creating clean, manifold structures that slicing softwares like Cura or Bambu Studio can handle with ease.
Turning Text into 3D Geometry
The “Text-to-3D” feature in Meshy is remarkably intuitive. By entering a prompt like “A high-detail cyberpunk style robotic owl, standing on a mechanical branch,” the AI generates 4 distinct previews. Once you select the best version, the “Refine” process builds a high-density mesh. For 3D printing, this is crucial because higher vertex counts mean smoother curves and less visible polygons on your final physical print.
Technical Specifications for Makers
Meshy isn’t just for digital artists. It provides essential features for the printing workflow:
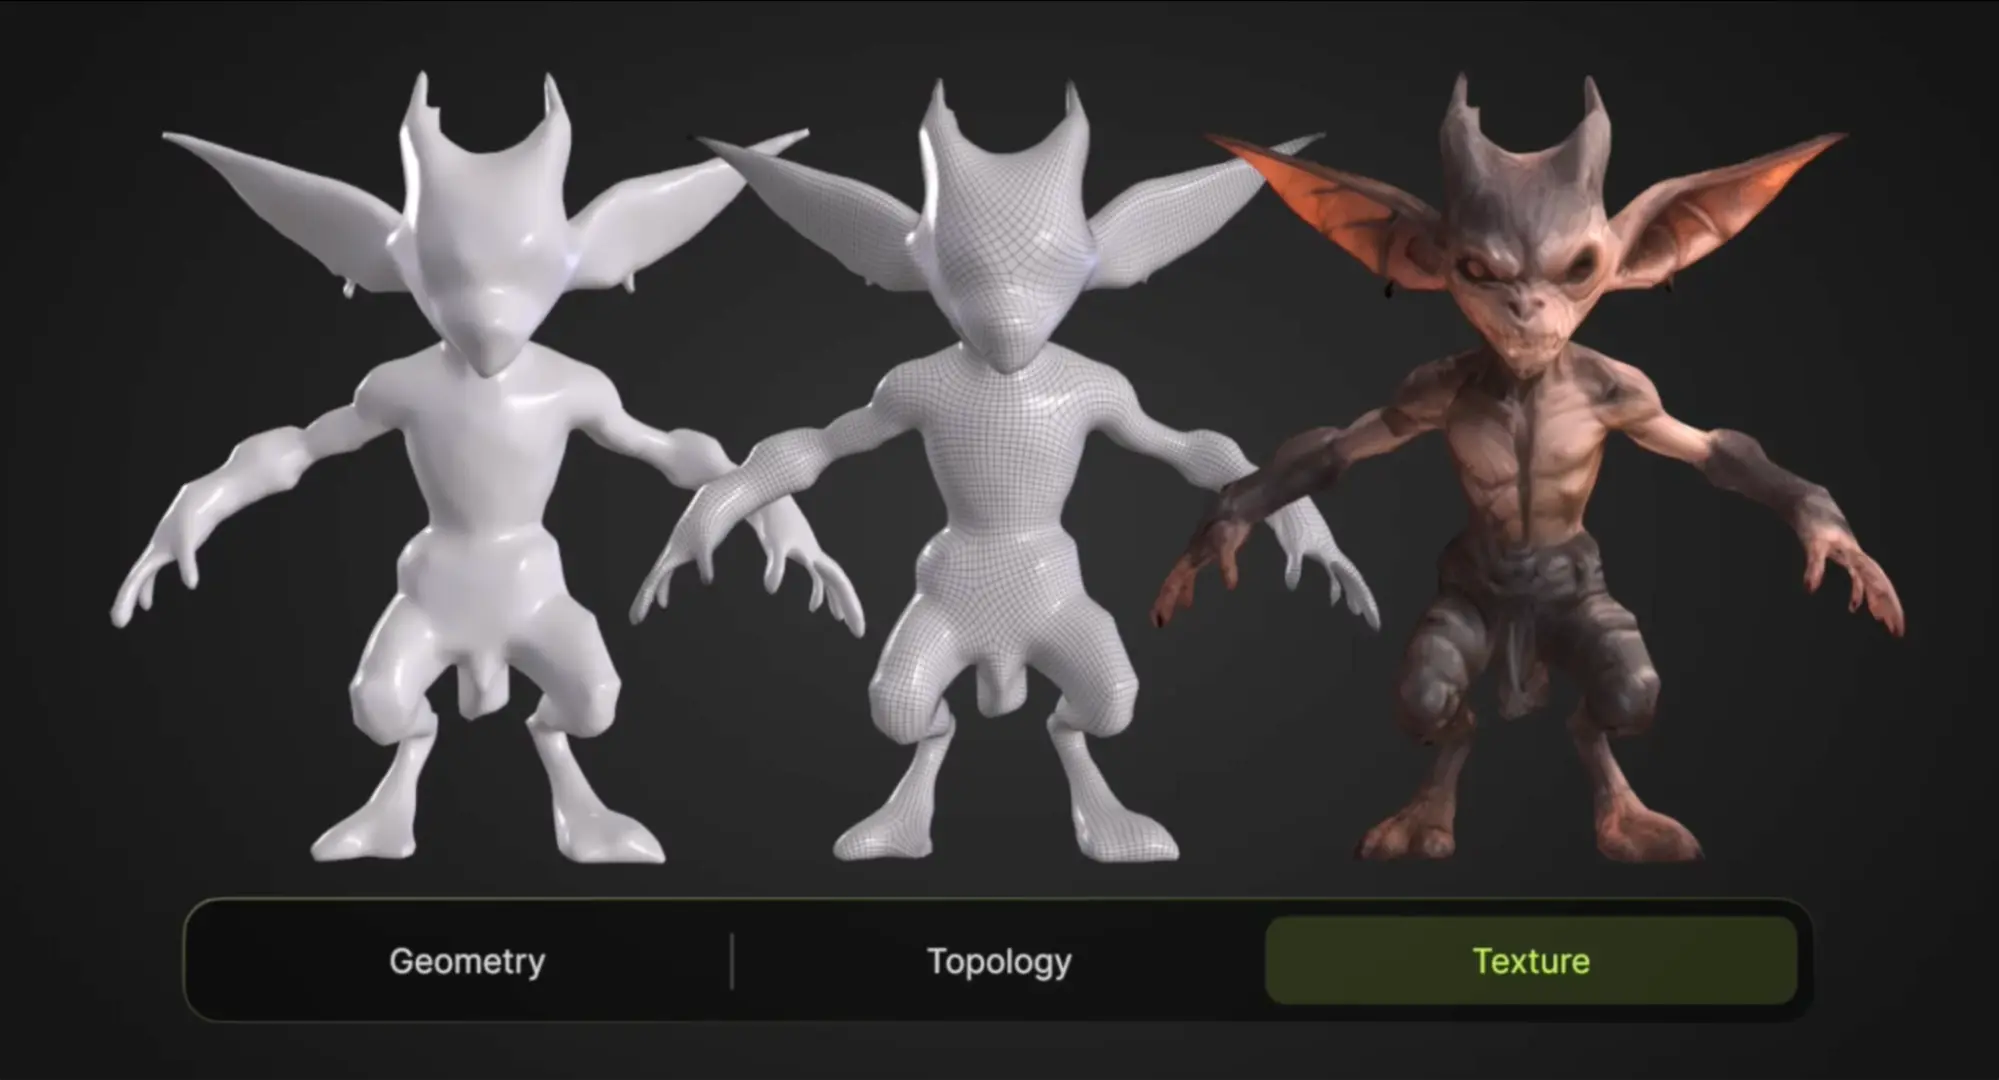
- Quad-Remeshing: Automatically cleans up the triangle mess often found in AI models, making the file size manageable.
- PBR to Physical Doku: While the AI generates textures for rendering, the underlying geometry is sharp enough for resin (SLA) or filament (FDM) printers.
- Format Versatility: Directly export in STL for printing or OBJ if you wish to add custom supports in another software.
Efficiency Tips for Better Prints
To get the most out of Meshy AI, use descriptive adjectives in your prompts such as “symmetrical,” “manifold,” or “solid base.” These keywords help the AI understand that the model needs to be a physical object rather than just a floating digital asset. This reduces the time spent on mesh repair software and gets your printer running faster.
Luma AI (Genie) and Mobile Photogrammetry for Makers
In the 2026 ecosystem of 3D printing, the ability to capture a physical object and digitize it on the go is a superpower for any maker. Luma AI, specifically through its Genie and Gaussian Splatting technologies, has turned the smartphone in your pocket into a professional-grade 3D scanner. For pea3d.com users, this means the bridge between a physical inspiration and a 3D printable STL file has never been shorter or more accessible.
Cinematic Realism Meets Printable Geometry
What sets Luma AI apart from traditional photogrammetry is its use of Neural Radiance Fields (NeRF). Instead of just calculating points in space, it understands how light interacts with surfaces. For 3D printer users, this results in textures and geometries that are far more “aware” of the object’s true form. Whether you are scanning a vintage car part that is no longer in production or a handcrafted clay sculpture, Luma AI captures the subtle curves that traditional modeling software might miss.
The “Genie” Workflow: From Video to Mesh
Luma AI allows you to generate models using either a series of photos or a simple video walkthrough. For the most hit-generating results, the video-to-3D workflow is recommended:
- 360-Degree Scanning: By walking around an object, the AI analyzes thousands of frames to triangulate the exact position of every surface.
- Cloud Processing: The heavy lifting is done on Luma’s servers, meaning you don’t need an expensive workstation to process high-poly meshes.
- Exporting for Slicers: Once the AI completes the reconstruction, you can export the file in OBJ, STL, or GLB formats. For 3D printing, the STL export is optimized to ensure the scale remains as close to the original as possible.
Mobile Scanning Tips for Flawless Prints
To ensure the AI generates a model that doesn’t “fail” in your slicer, follow these technical guidelines:
- Avoid Reflective Surfaces: AI still struggles with mirrors or chrome. Use a matting spray or a light dusting of flour if you need to scan shiny parts.
- Consistent Lighting: Shadows that move during your scan can confuse the AI’s depth perception. Use diffused, indirect sunlight for the best results.
- The “Loop” Technique: Always end your video exactly where you started. This helps the Genie algorithm “close the loop” on the geometry, ensuring the back of your model is as detailed as the front.
High-Resolution Details for Resin Printing
For users of SLA (Resin) printers, Luma AI is particularly valuable. The level of micro-detail captured in a high-quality scan can be reproduced beautifully with liquid resin. By utilizing the “High Res” export option, you can maintain the intricate surface wear and tear of a physical object, allowing you to print 1:1 replicas that look identical to the source. This technology effectively democratizes reverse engineering, making it a tool for every hobbyist.
CSM.ai and Achieving Geometric Integrity for Professional Prints
In the 3D printing workflow, a “pretty” model is useless if it lacks structural integrity. While many AI tools focus on visual aesthetics, CSM.ai (Common Sense Machines) focuses on the “spatial logic” of an object. For the technical community at pea3d.com, this tool represents a bridge between artistic AI generation and engineering-grade 3D output. As of 2026, its ability to generate a full 360-degree mesh from a single viewpoint has become a standard for makers seeking reliability.
Volume Estimation and “Common Sense” Geometry
The core strength of CSM.ai lies in its name: “Common Sense.” The AI has been trained on millions of 3D primitives to understand how physical objects occupy space. When you provide a single photo of a mechanical part or a character, the algorithm doesn’t just “guess” the back side; it predicts it based on structural symmetry and physics. This is a critical advantage for 3D printing, as it significantly reduces the occurrence of “hollow shells” or impossible geometries that often crash slicing software.
Professional Mesh Quality: Topology Matters
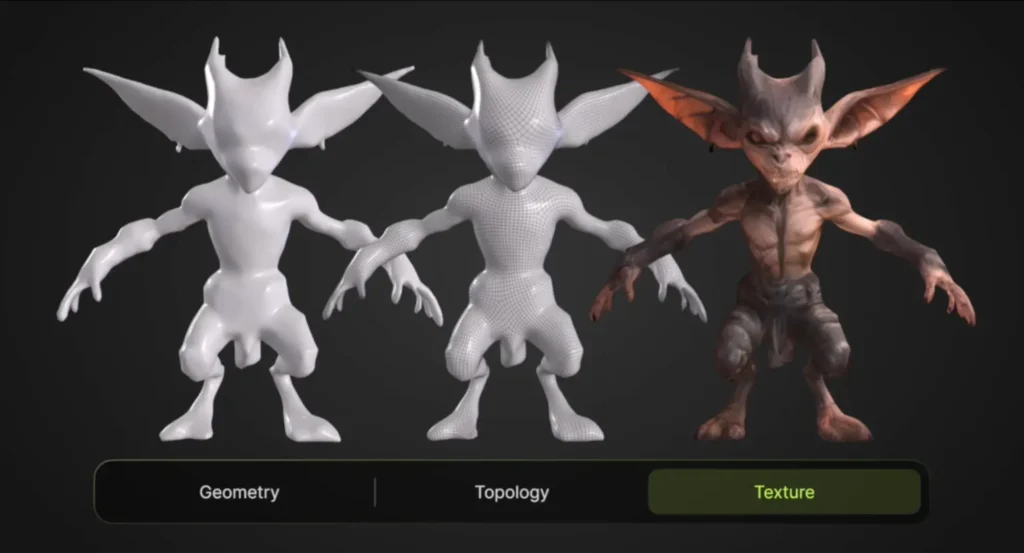
A model’s “topology”—the way its polygons are arranged—determines how easily it can be printed or modified. CSM.ai prioritizes clean, quad-dominant meshes.
- Manifold by Design: One of the most frustrating errors for a 3D printer user is the “Non-Manifold” error. CSM.ai’s latest engine is designed to produce “water-tight” meshes, meaning the volume is fully enclosed and ready for the slicer.
- Retopology Tools: For those who want to take their models further in CAD software like Fusion 360, the structured mesh provided by CSM.ai allows for easier scaling and “shelling” (creating a hollow interior to save filament).
Integrating AI Models into Professional CAD Workflows
CSM.ai serves as more than just a generator; it is a “sketch-to-production” engine. Once the AI generates the high-poly model, it can be exported in OBJ or USDZ formats with specialized maps:
- Normal Maps: These allow for high surface detail without needing millions of polygons, which keeps your STL file sizes manageable.
- Geometric Consistency: If you are printing a replacement part, CSM.ai’s ability to maintain straight lines and sharp edges (compared to the “melted” look of some AI generators) is a game-changer for functional prints.
Optimization for Material Efficiency
One of the hidden costs of 3D printing is material waste. Because CSM.ai produces cleaner internal structures, makers can use “hollowing” techniques more effectively. By generating a model with a consistent wall thickness, you can print larger objects using less resin or filament while maintaining structural strength. This level of control, combined with the AI’s rapid generation speed, allows for iterative design—printing a small-scale version, adjusting the AI prompt, and printing the final version all within a single afternoon.
From Digital AI to Physical Reality: Slicing and Post-Processing
Transforming an AI-generated model into a physical object requires a technical bridge. While tools like Meshy or CSM.ai provide the geometry, a 3D printer requires specific instructions (G-code) to execute the build. For the pea3d.com community, mastering the transition from an AI cloud export to a high-quality physical print is what separates a successful project from a “spaghetti” failure.
Mastering the Slicer for AI Geometry
AI-generated meshes often have complex, organic surfaces that differ from the sharp, linear edges of traditional CAD models. To ensure a successful print, your slicing strategy in software like Cura, PrusaSlicer, or Bambu Studio must be precise:
- Automatic Mesh Repair: Even the best AI can occasionally produce “non-manifold” edges. Before hitting “Slice,” always use the built-in repair tools (or external tools like Microsoft 3D Builder) to ensure the model is “water-tight.”
- Orientation for Strength: AI models are often generated in a default upright position. Rotate your model to minimize steep overhangs. This ensures better layer adhesion and a smoother surface finish.
- Adaptive Layer Height: Use this feature to save time. It allows the printer to use thicker layers for vertical sections and thinner layers for high-detail curves, capturing the AI’s intricate work without doubling the print time.
Support Structures for Organic AI Forms
Since AI-generated models are frequently organic or asymmetrical, traditional “grid” supports can be difficult to remove and may damage the surface.
- Tree Supports: This is the gold standard for AI models. Tree supports wrap around the model without touching every surface, making them easy to snap off while leaving minimal scarring.
- Support Interface: Use a “Support Roof” with a density of about 50%. Bu ensures that the AI’s detailed “underbelly” prints smoothly without sagging into the support material.
2026 and Beyond: The Future of “Smart” Printing
The integration of AI into the 3D printing workflow is just beginning. In 2026, we are seeing the rise of AI-Driven Slicing, where the software automatically identifies weak points in an AI-generated mesh and reinforces them with internal “ribs” without user intervention. Furthermore, “Text-to-CAD” is evolving, allowing users to not just generate a shape, but to command specific mechanical tolerances (e.g., “Create a 608zz bearing housing with a 0.1mm clearance”).
Conclusion: Empowering the Modern Maker
AI has effectively removed the “modeling barrier” that once kept many people away from 3D printing. By combining the rapid generation capabilities of Meshy, the reality-capture of Luma AI, and the structural logic of CSM.ai, anyone can now go from a thought to a physical object in hours. At pea3d.com, we believe that these tools don’t replace the maker; they empower the maker to focus on what truly matters: creativity and innovation.
Frequently Asked Questions (FAQ)
1. Can I 3D print AI-generated models directly? While most AI tools export in STL or OBJ formats compatible with 3D printers, you should always run them through a “mesh repair” tool. AI models can sometimes have “non-manifold” geometries (open holes), which need to be closed in software like Cura or 3D Builder before slicing.
2. What is the best AI tool for 3D printing miniatures? Meshy AI is currently the leader for organic miniatures due to its “Text-to-3D” high-fidelity mode. It handles the intricate details of fur, armor, and facial features better than most photogrammetry-based tools, producing a “cleaner” mesh for resin printers.
3. Is “Text-to-3D” better than “Image-to-3D”? It depends on your goal. Text-to-3D is better for creating something from scratch (imagination), while Image-to-3D (or Video-to-3D via Luma AI) is superior for replicating real-world objects with high accuracy.
4. Do I need a powerful PC to use these AI tools? No. Most modern 3D AI tools like CSM.ai and Luma AI are cloud-based. All the heavy processing is done on their servers. You only need a stable internet connection and a browser or a smartphone to generate and download your files.